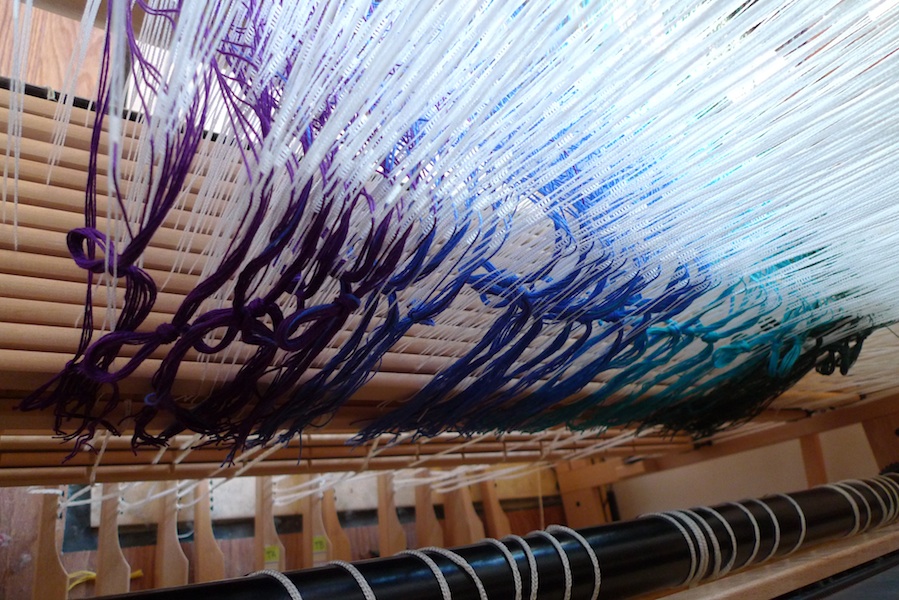
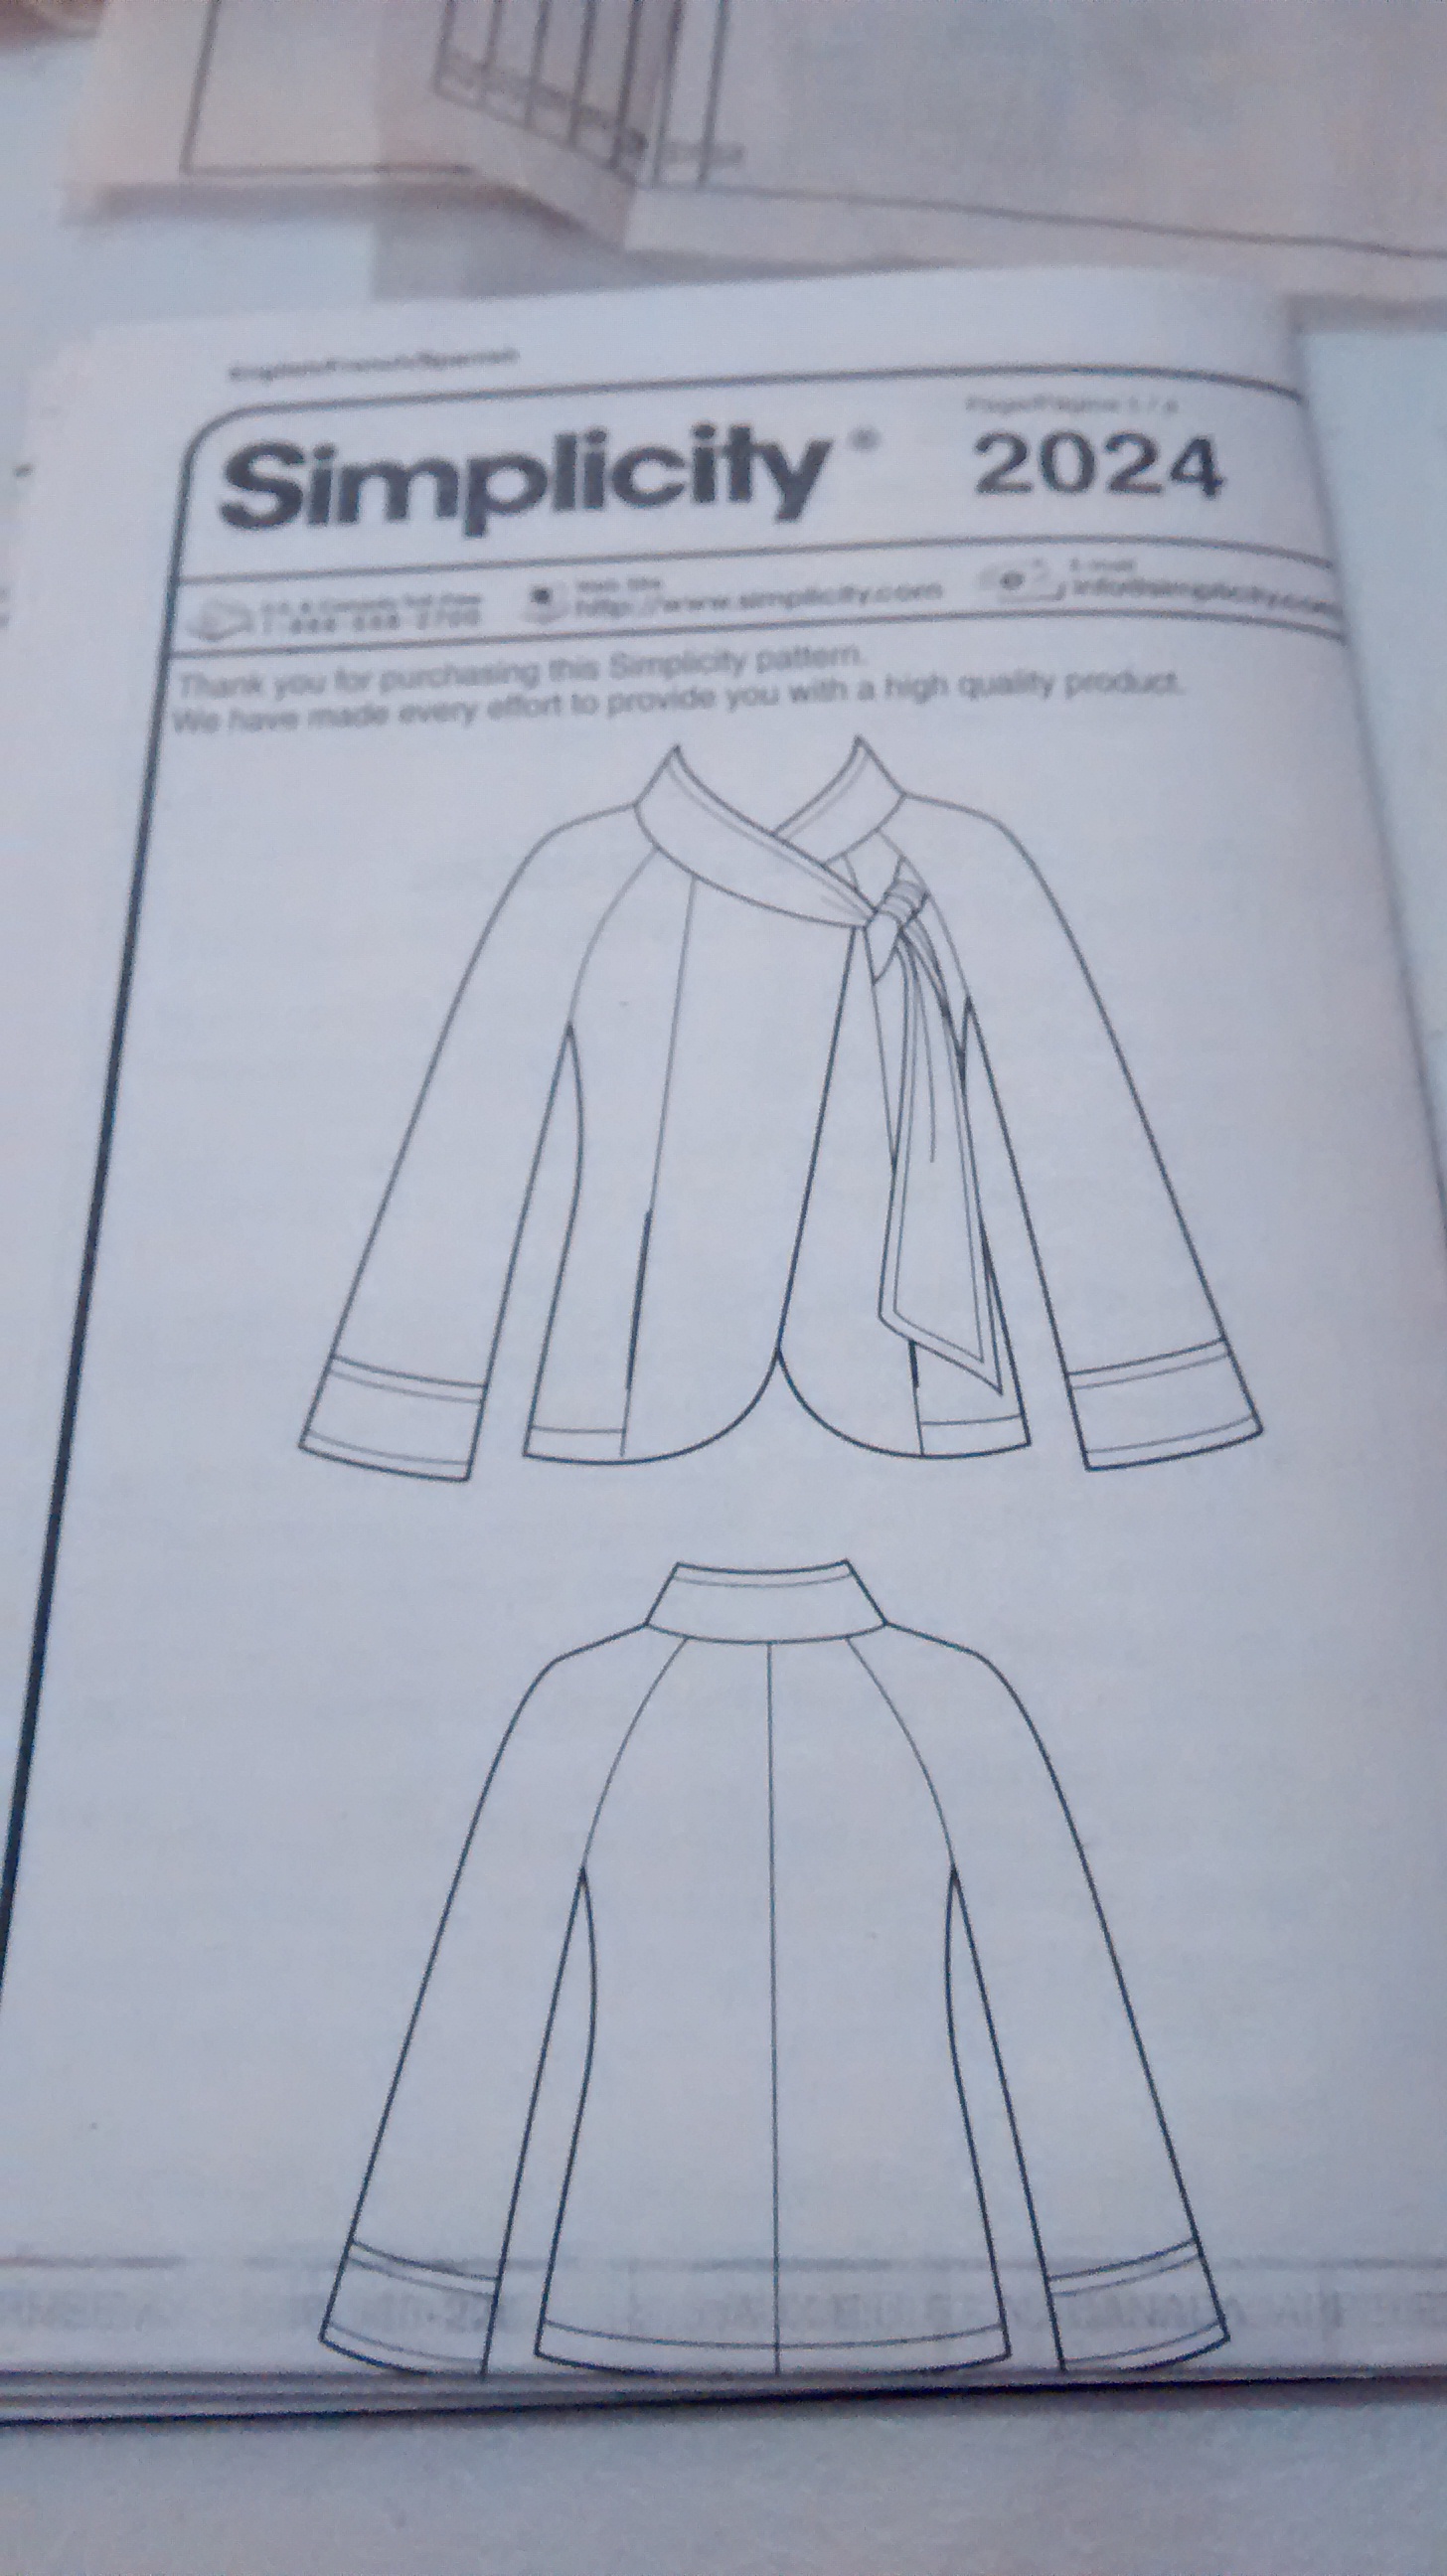
Dec 5 2015

Figure My Figure

I went to the Figure my Figure meeting for the Guild’s 2016 Yardage Challenge — how to figure out how much you need to weave for the pattern you’ve chosen.   These are my notes.

First, you’ve got to pick a pattern.  The upside to a pattern like this one is that it has many pieces — many pieces tends to mean that each piece is not super-wide, and that means that you can weave your cloth on a smaller (narrower) loom.  Most patterns have the yardage labeled for 45″ or 60″ cloth — and if your loom’s that wide, bully for you, but if it’s not . . . well . . .

ChooseAPattern
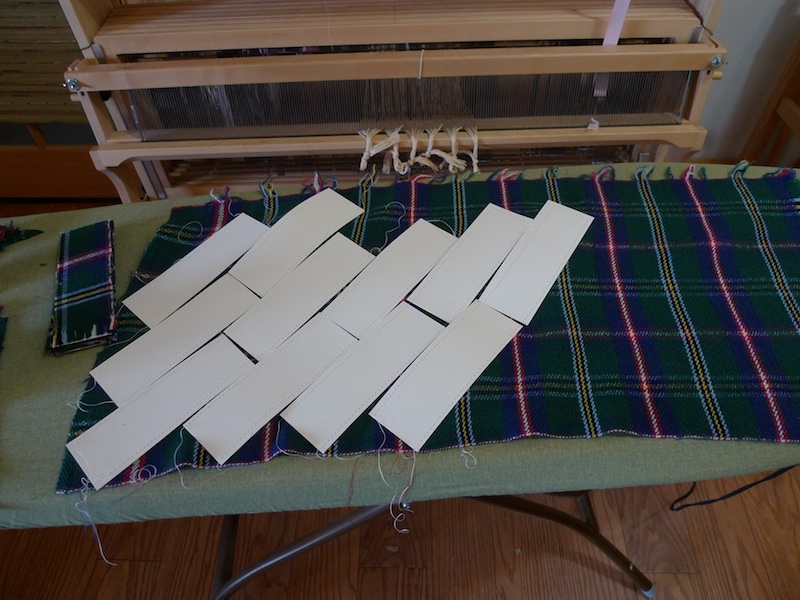
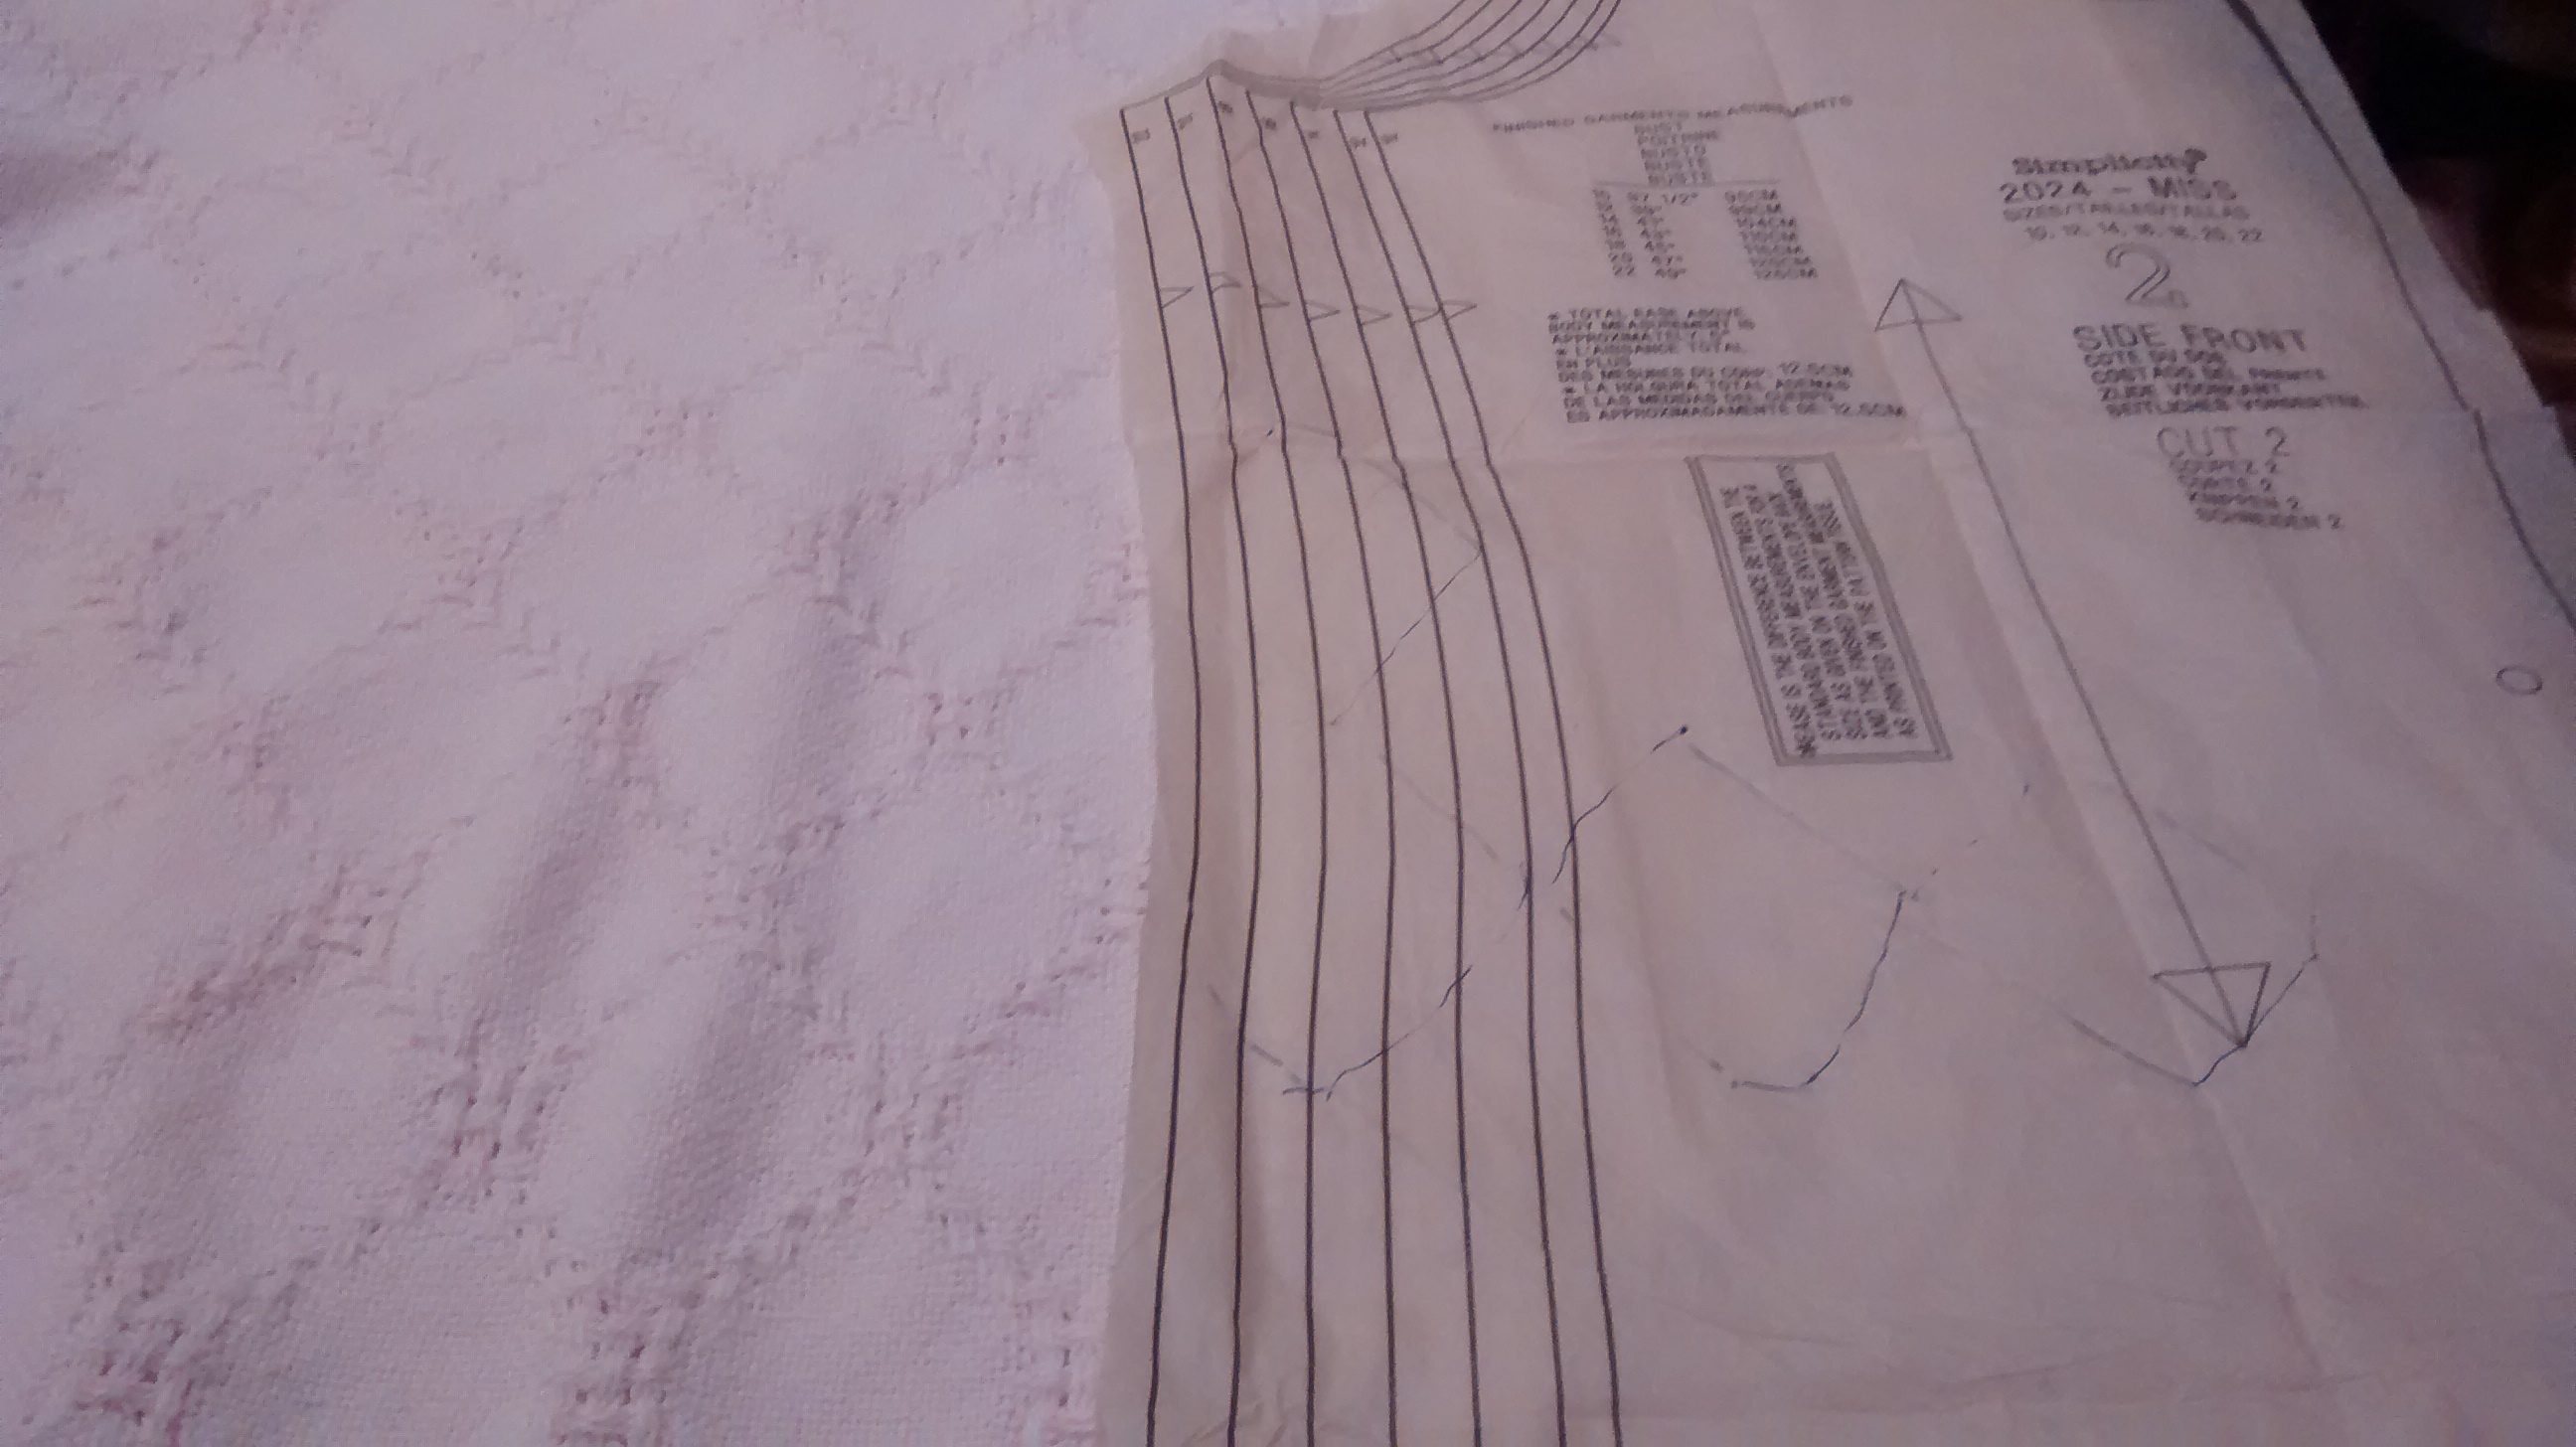
Next up, take all the pieces out.   What you’re looking for is to find the largest one that is the widest across:

MeasureLargestPatternPieceFocus
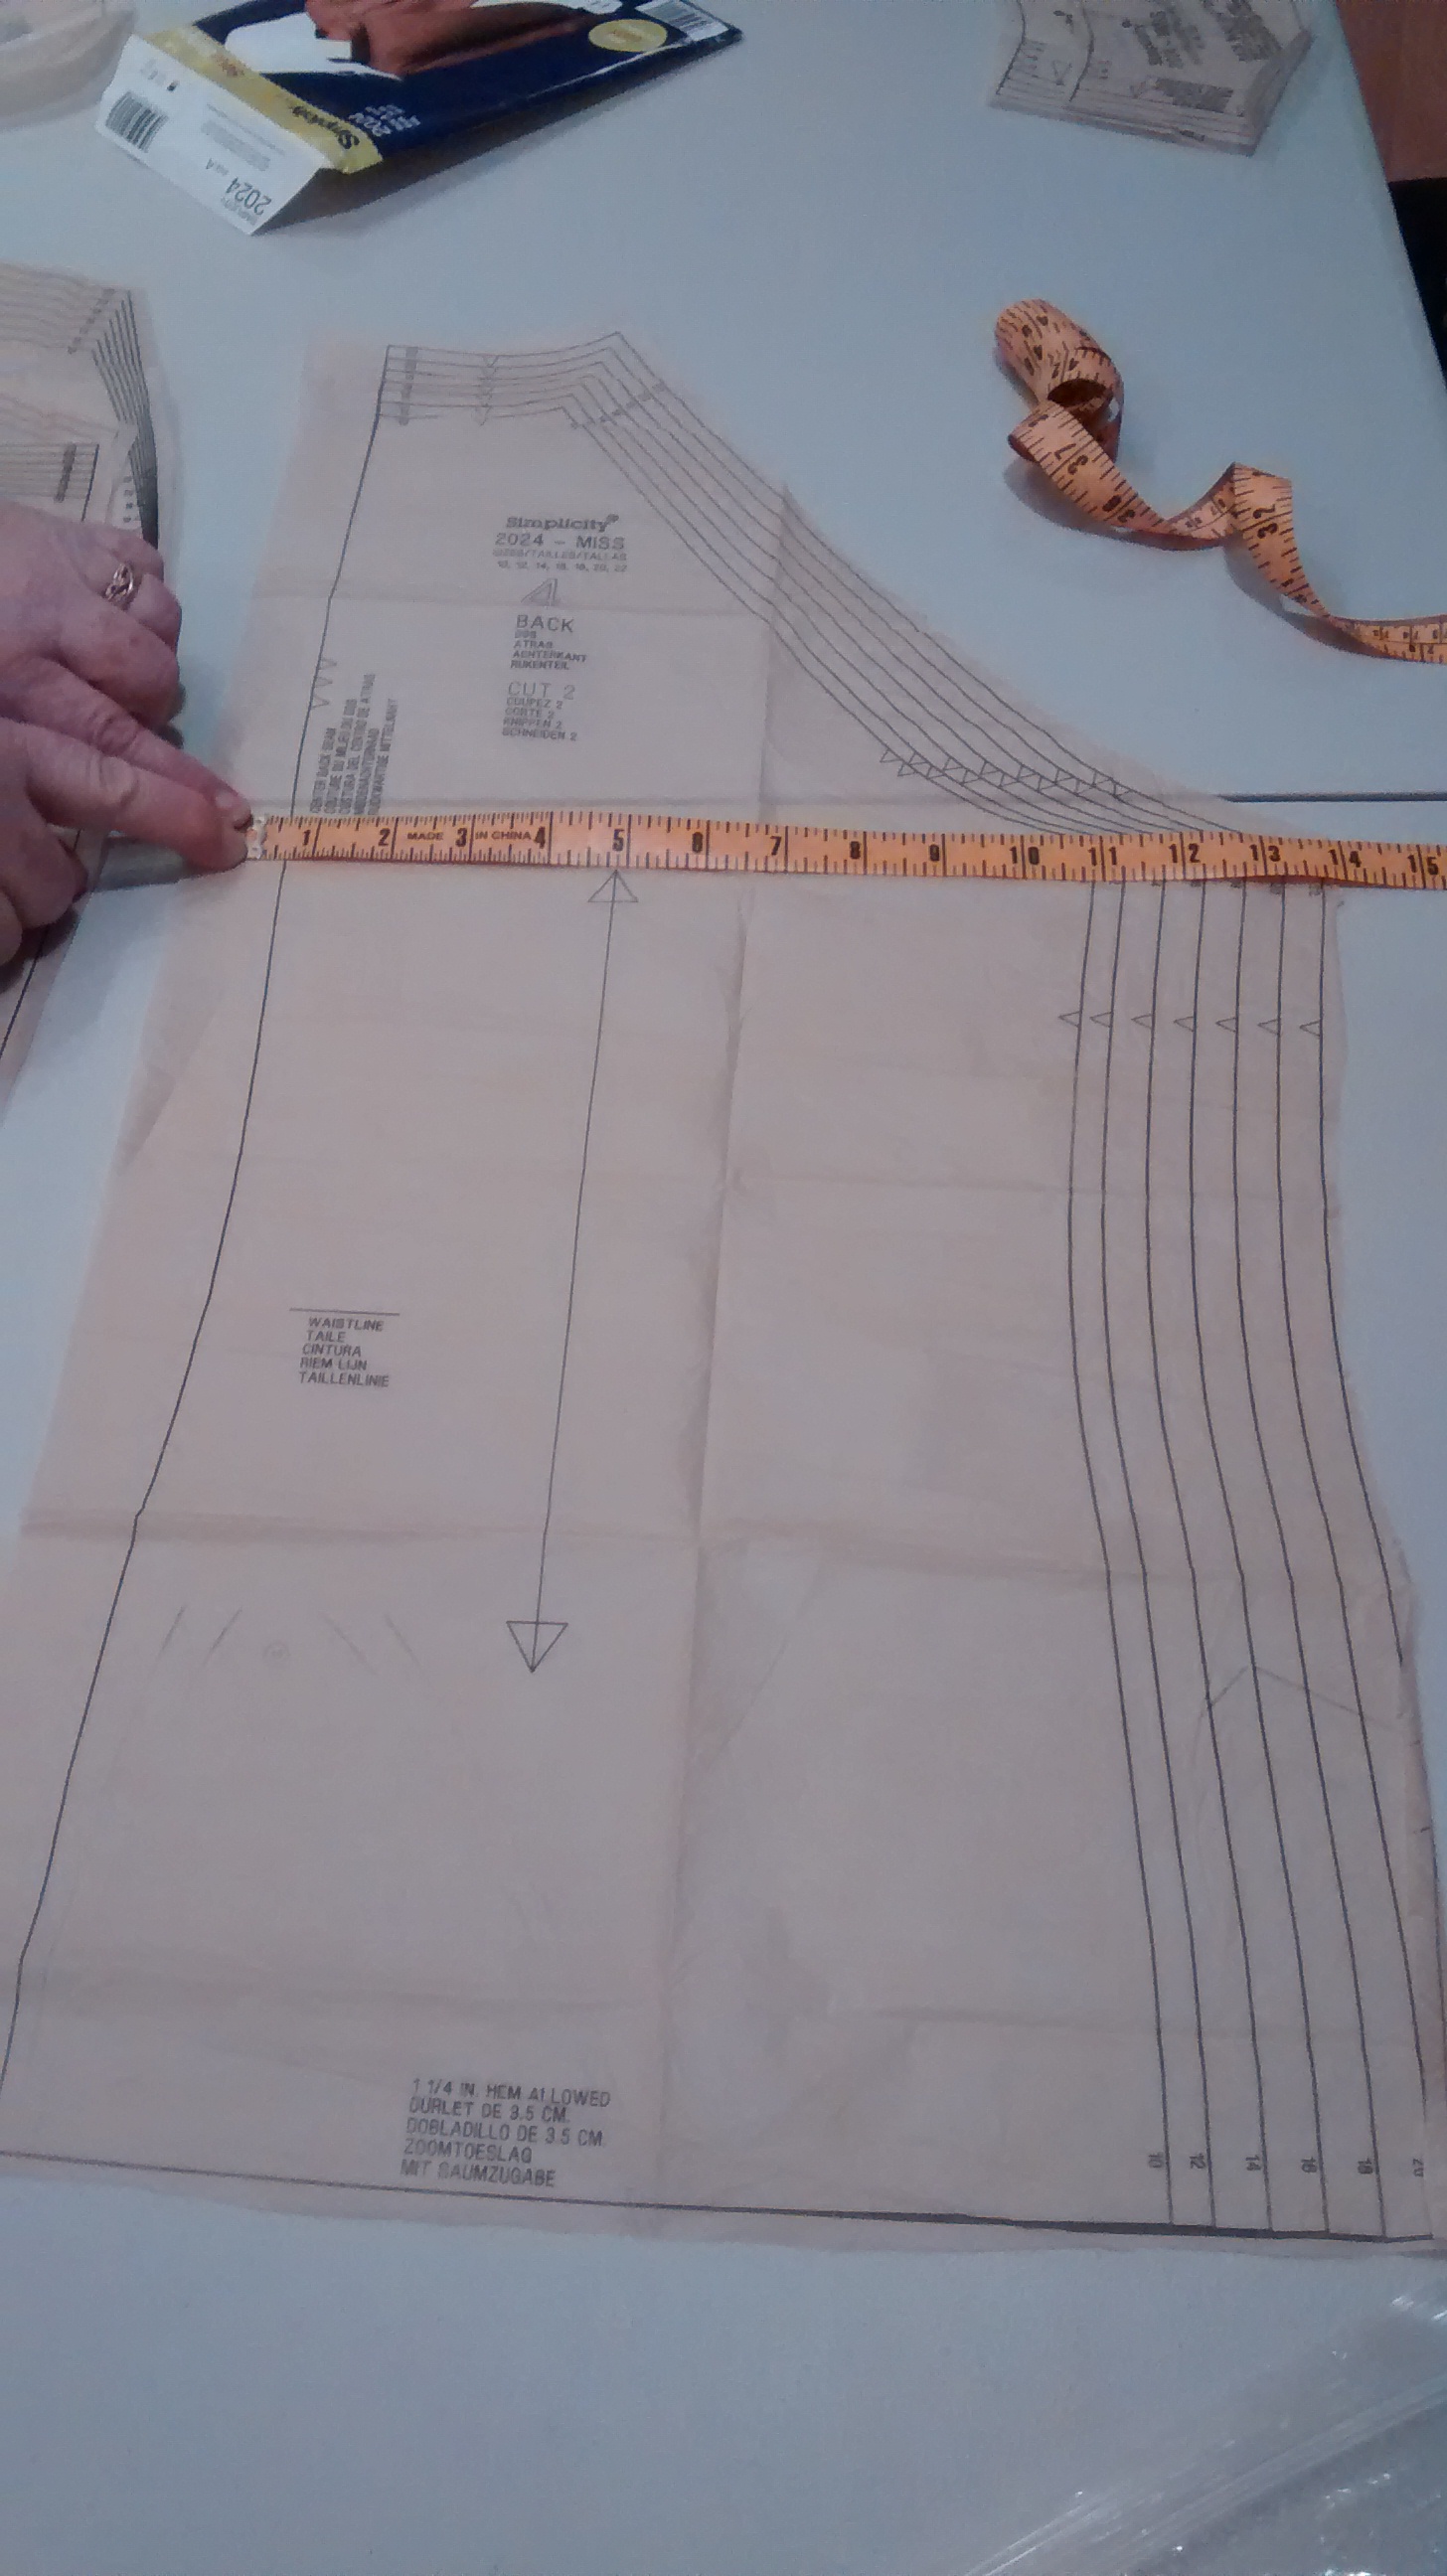
Measure it at the widest point.   This, plus the selvage, plus shrinkage, is your minimum width.

TransferPatternPiecesToTracingPaper
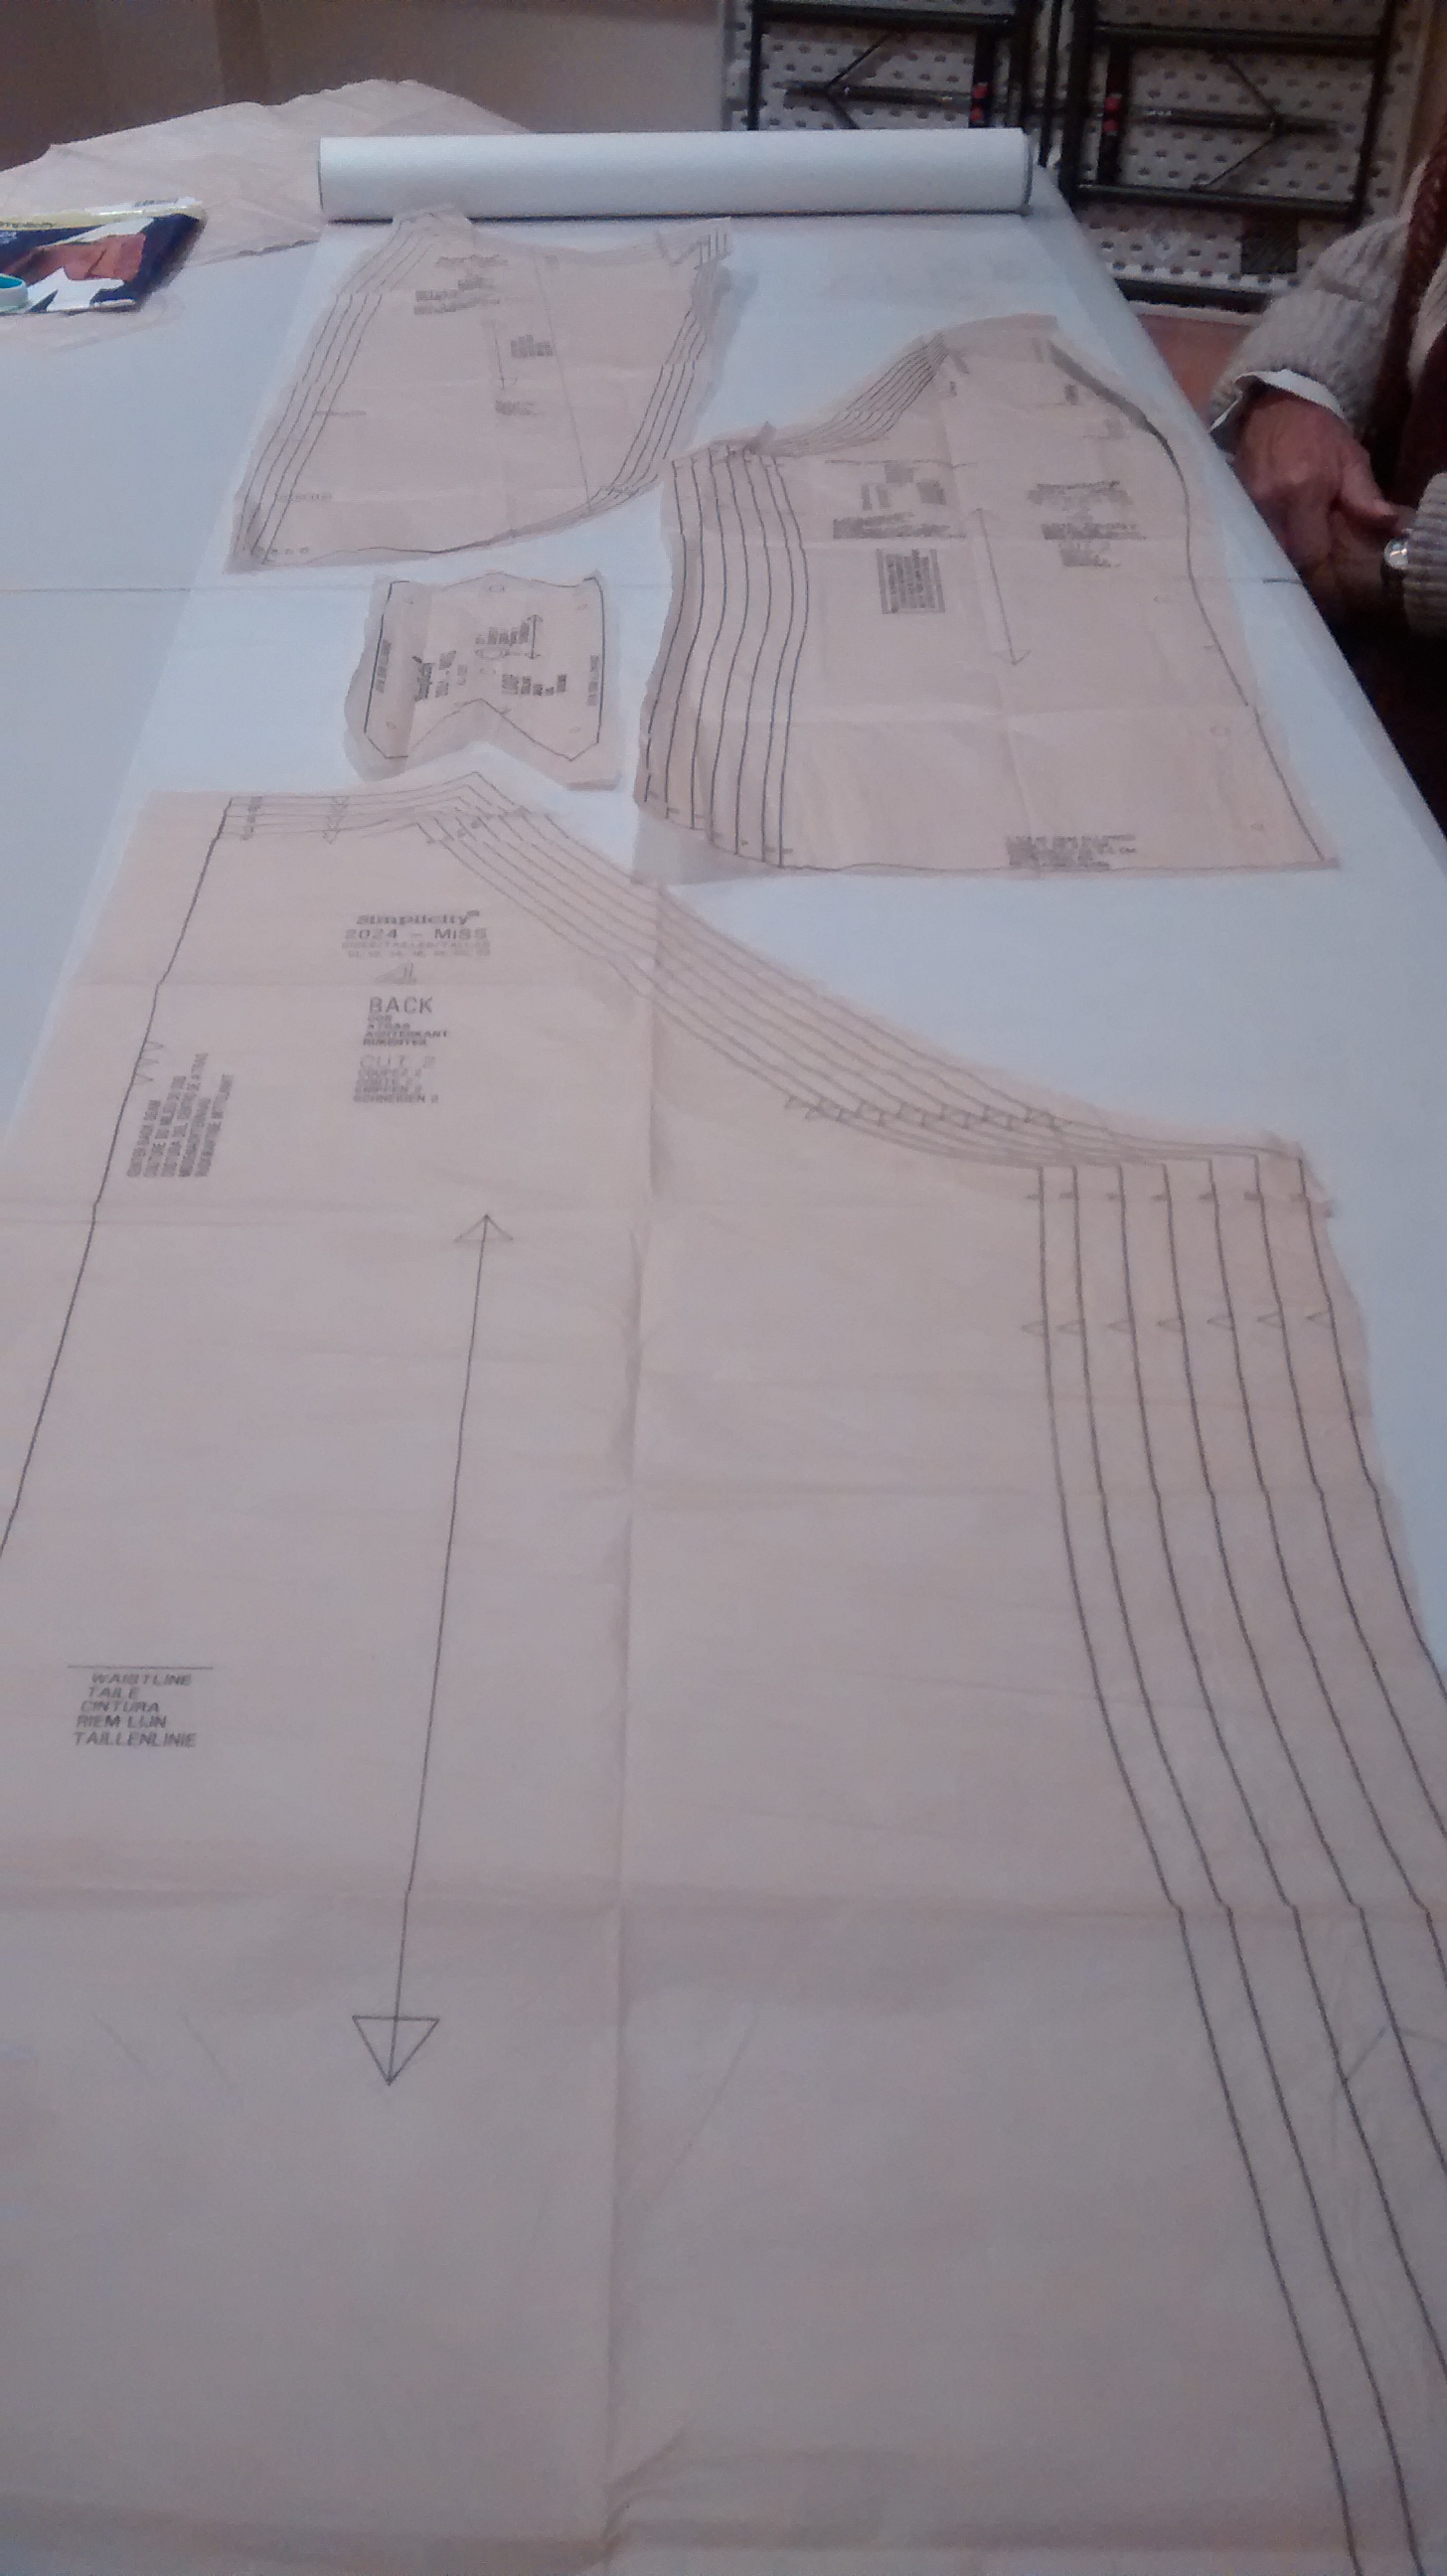
Our intrepid weaver’s guild president, Sarah Laudenbach, a long time seamstress, suggests tracing all your pattern pieces on to tracing paper, and using the tracing paper pattern for your garment, keeping the original for reuse.  If you use (or cut down your) tracing paper to the maximum width of your cloth on the loom (minus the selvage, minus shrinkage), you can’t go too wrong.

LayOutPatternPieces
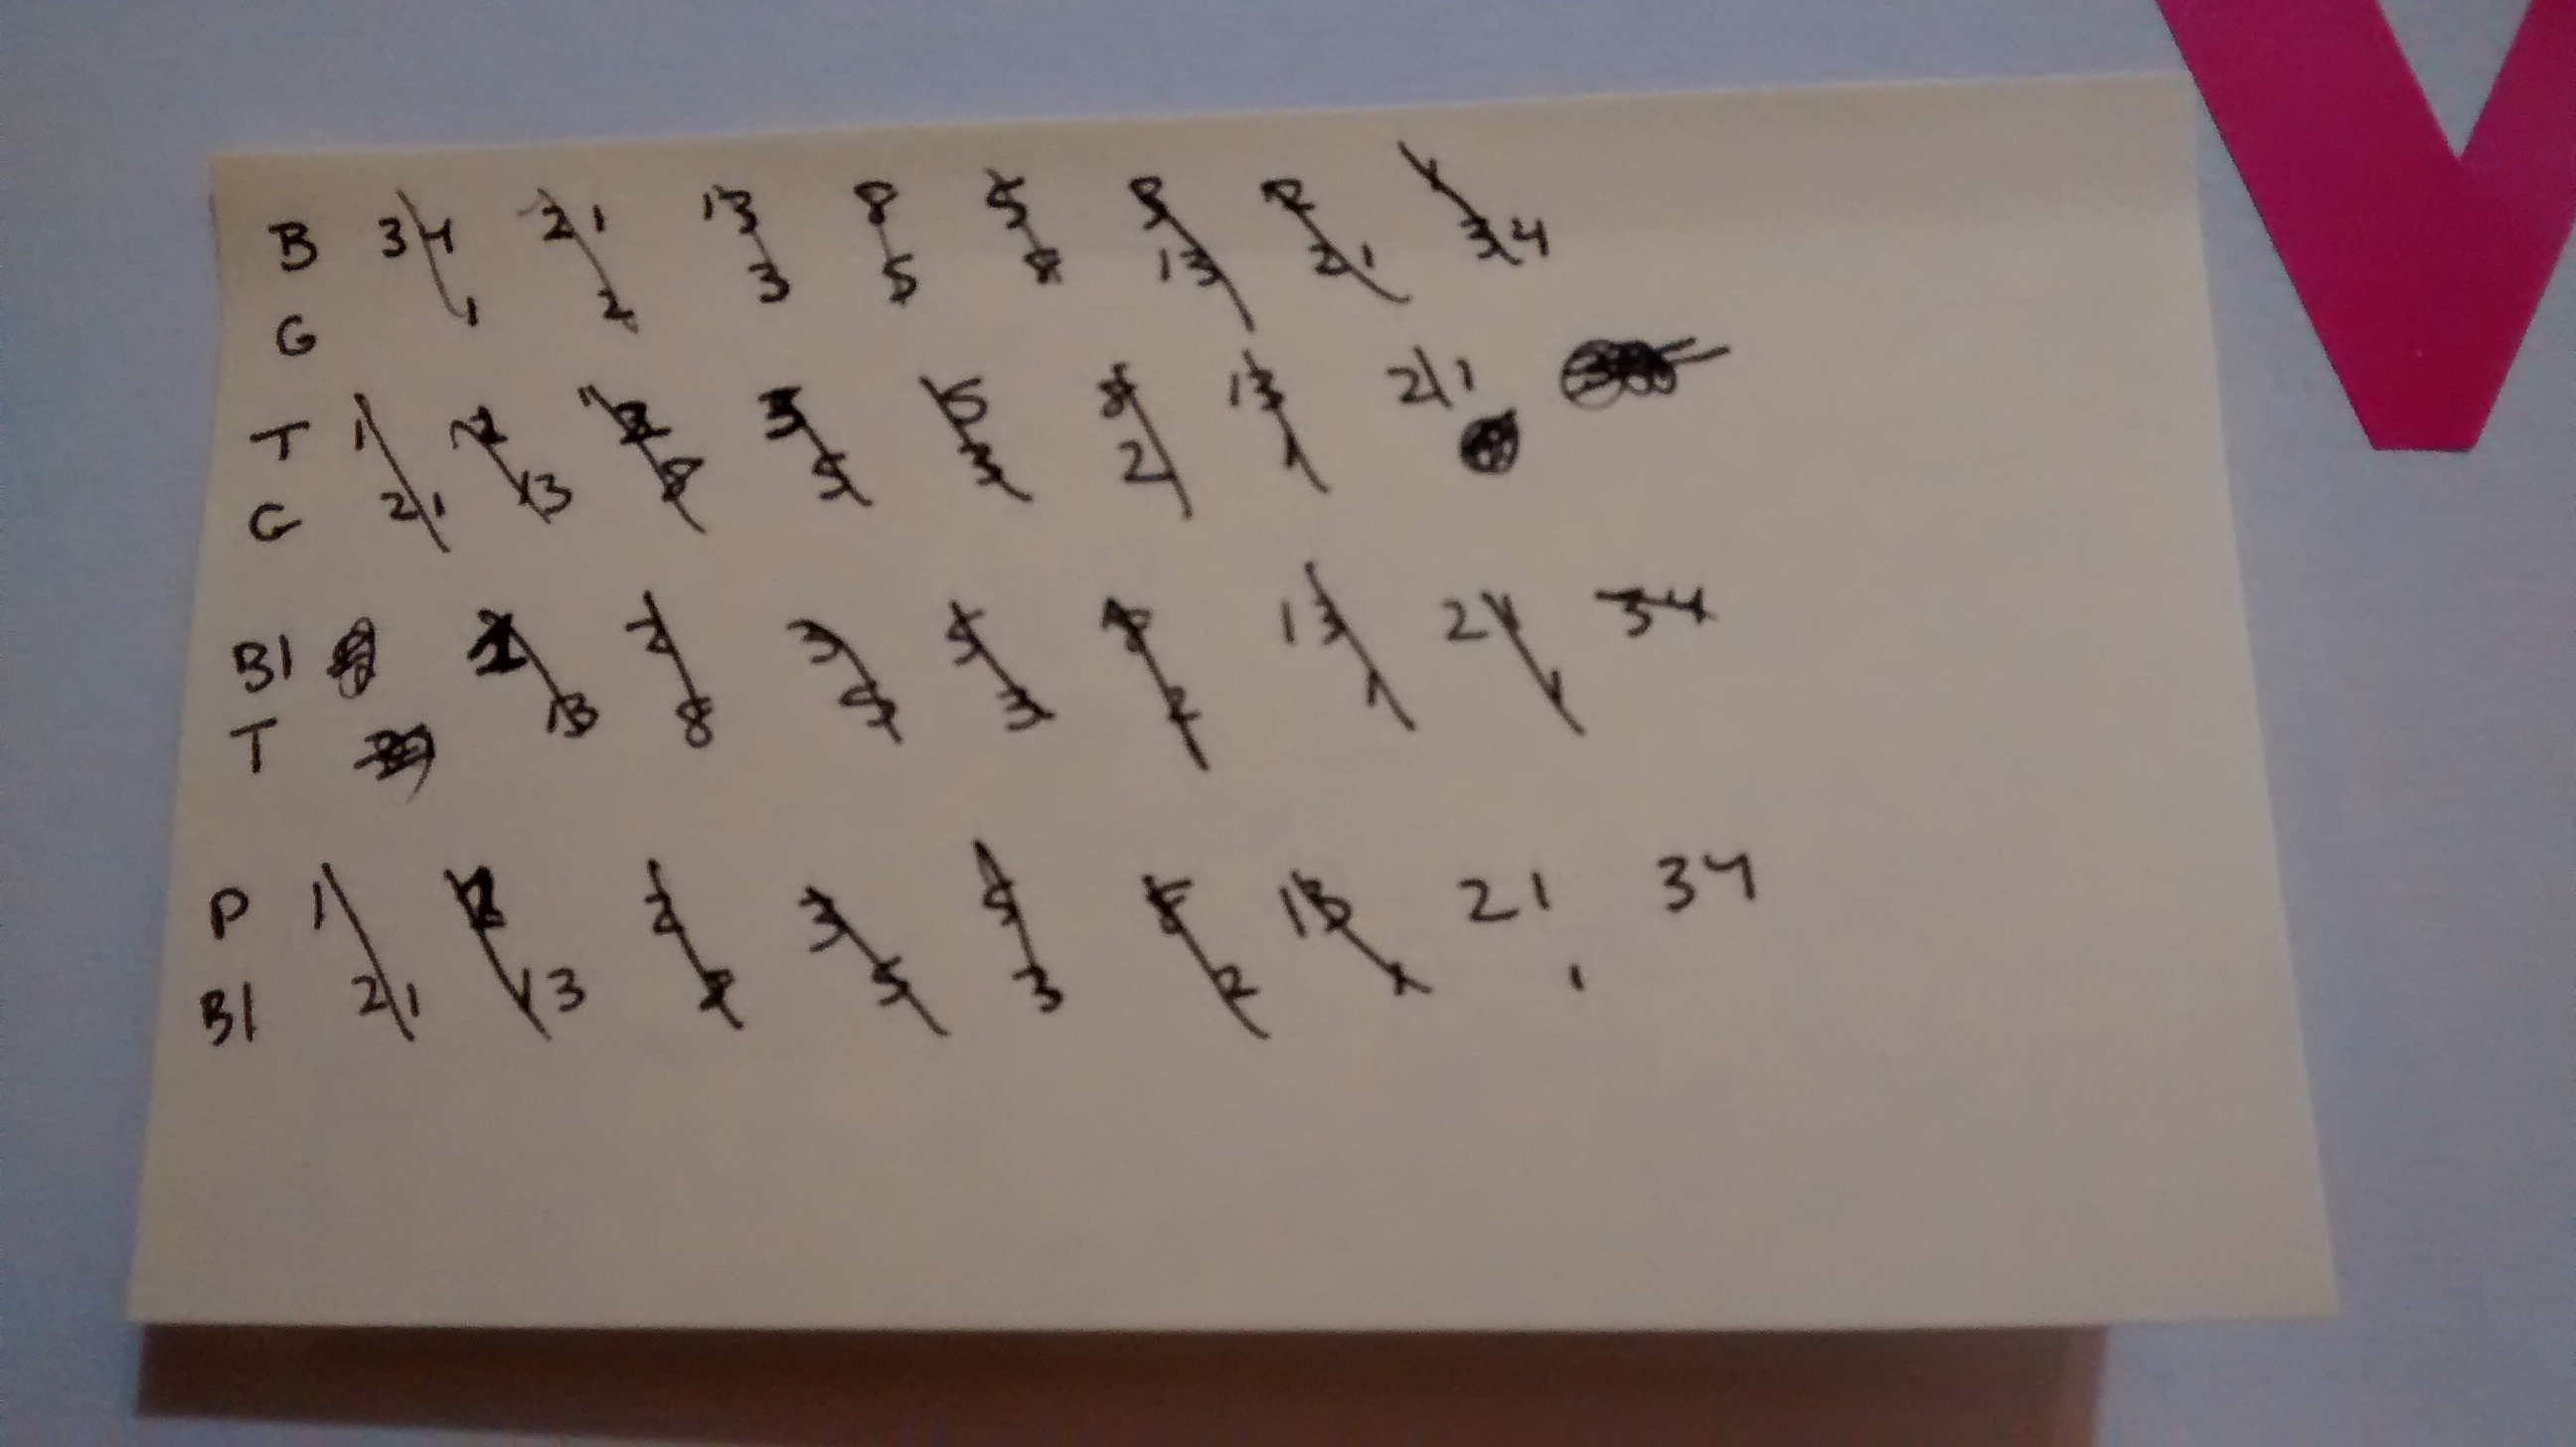
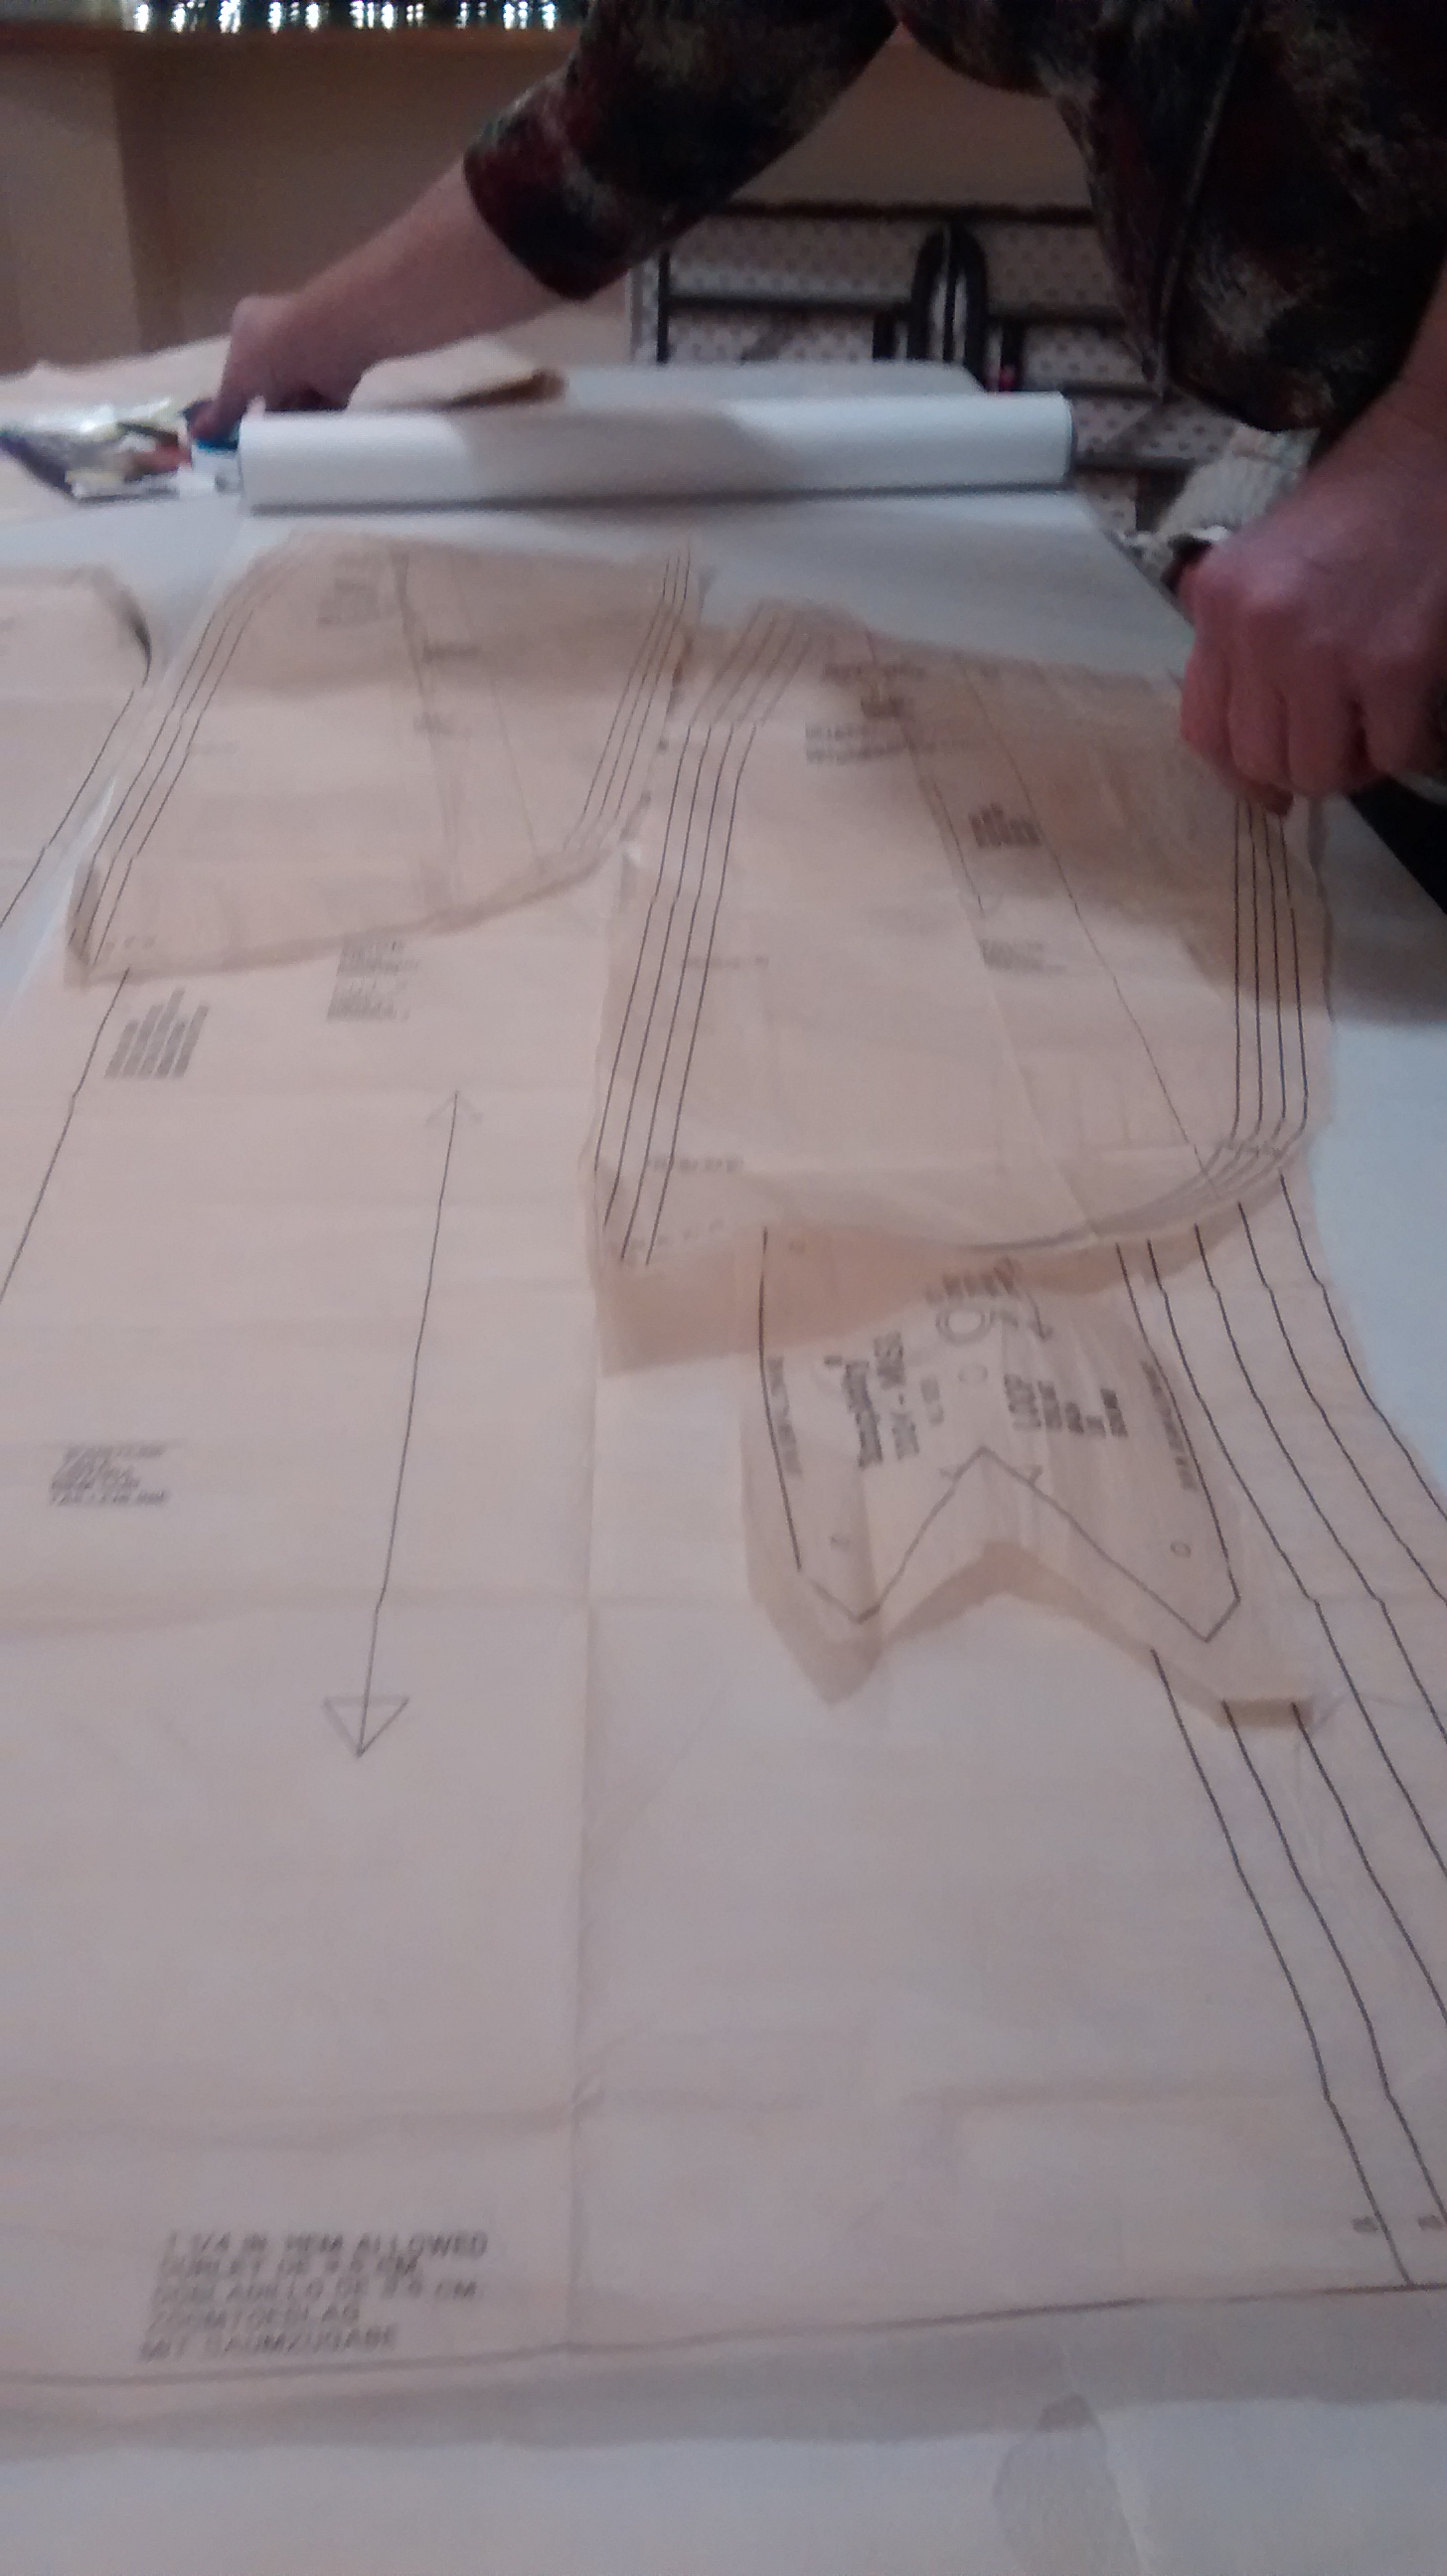
Remember, you have to line up the pieces with the grain.  Check the arrows, and get everything going in the right direction.  When you get everything traced, and before you start cutting the tracing paper, measure the length of the tracing paper.  This, plus shrinkage, is the minimum length you need to weave for your pattern.  Weave more.

UseMeasuringTapeToGetStraightA trick for lining up the pattern with the cloth: measure from the grain line to the edge of the cloth in several places, so you know that you’re straight with the grain of the cloth.

LineUpPatternWithArrows
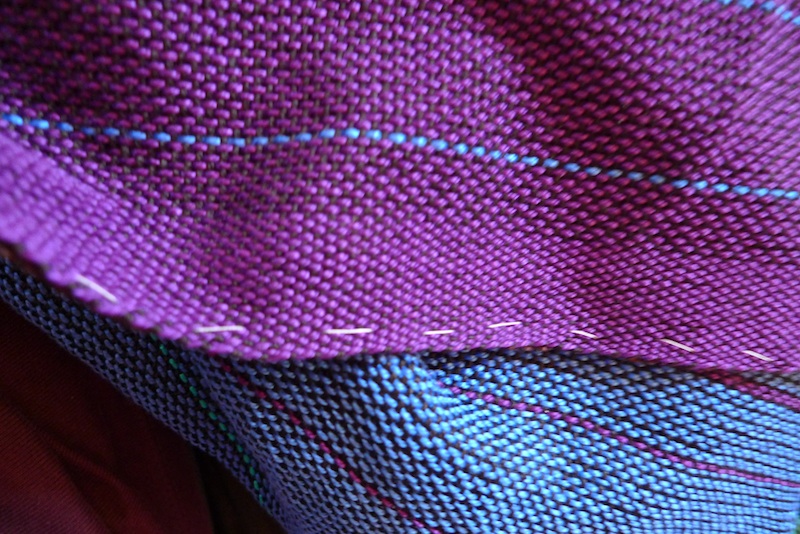
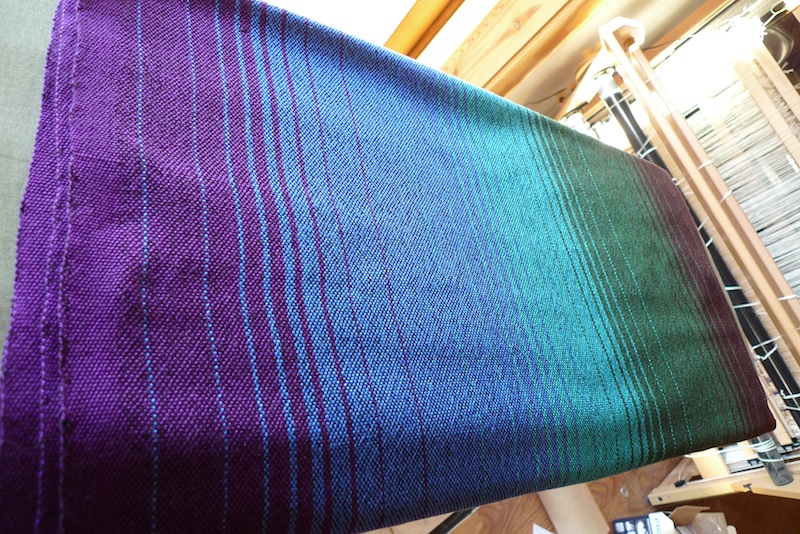
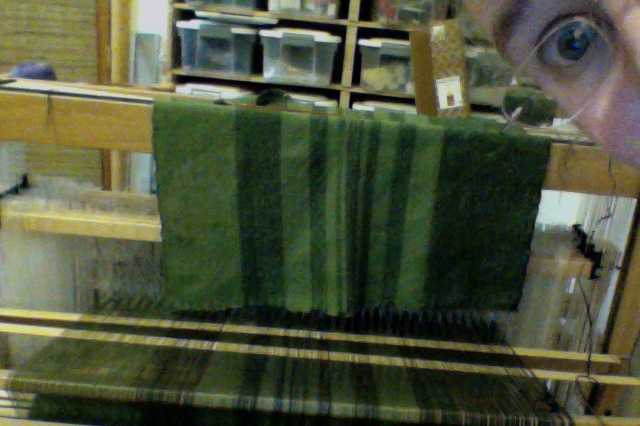
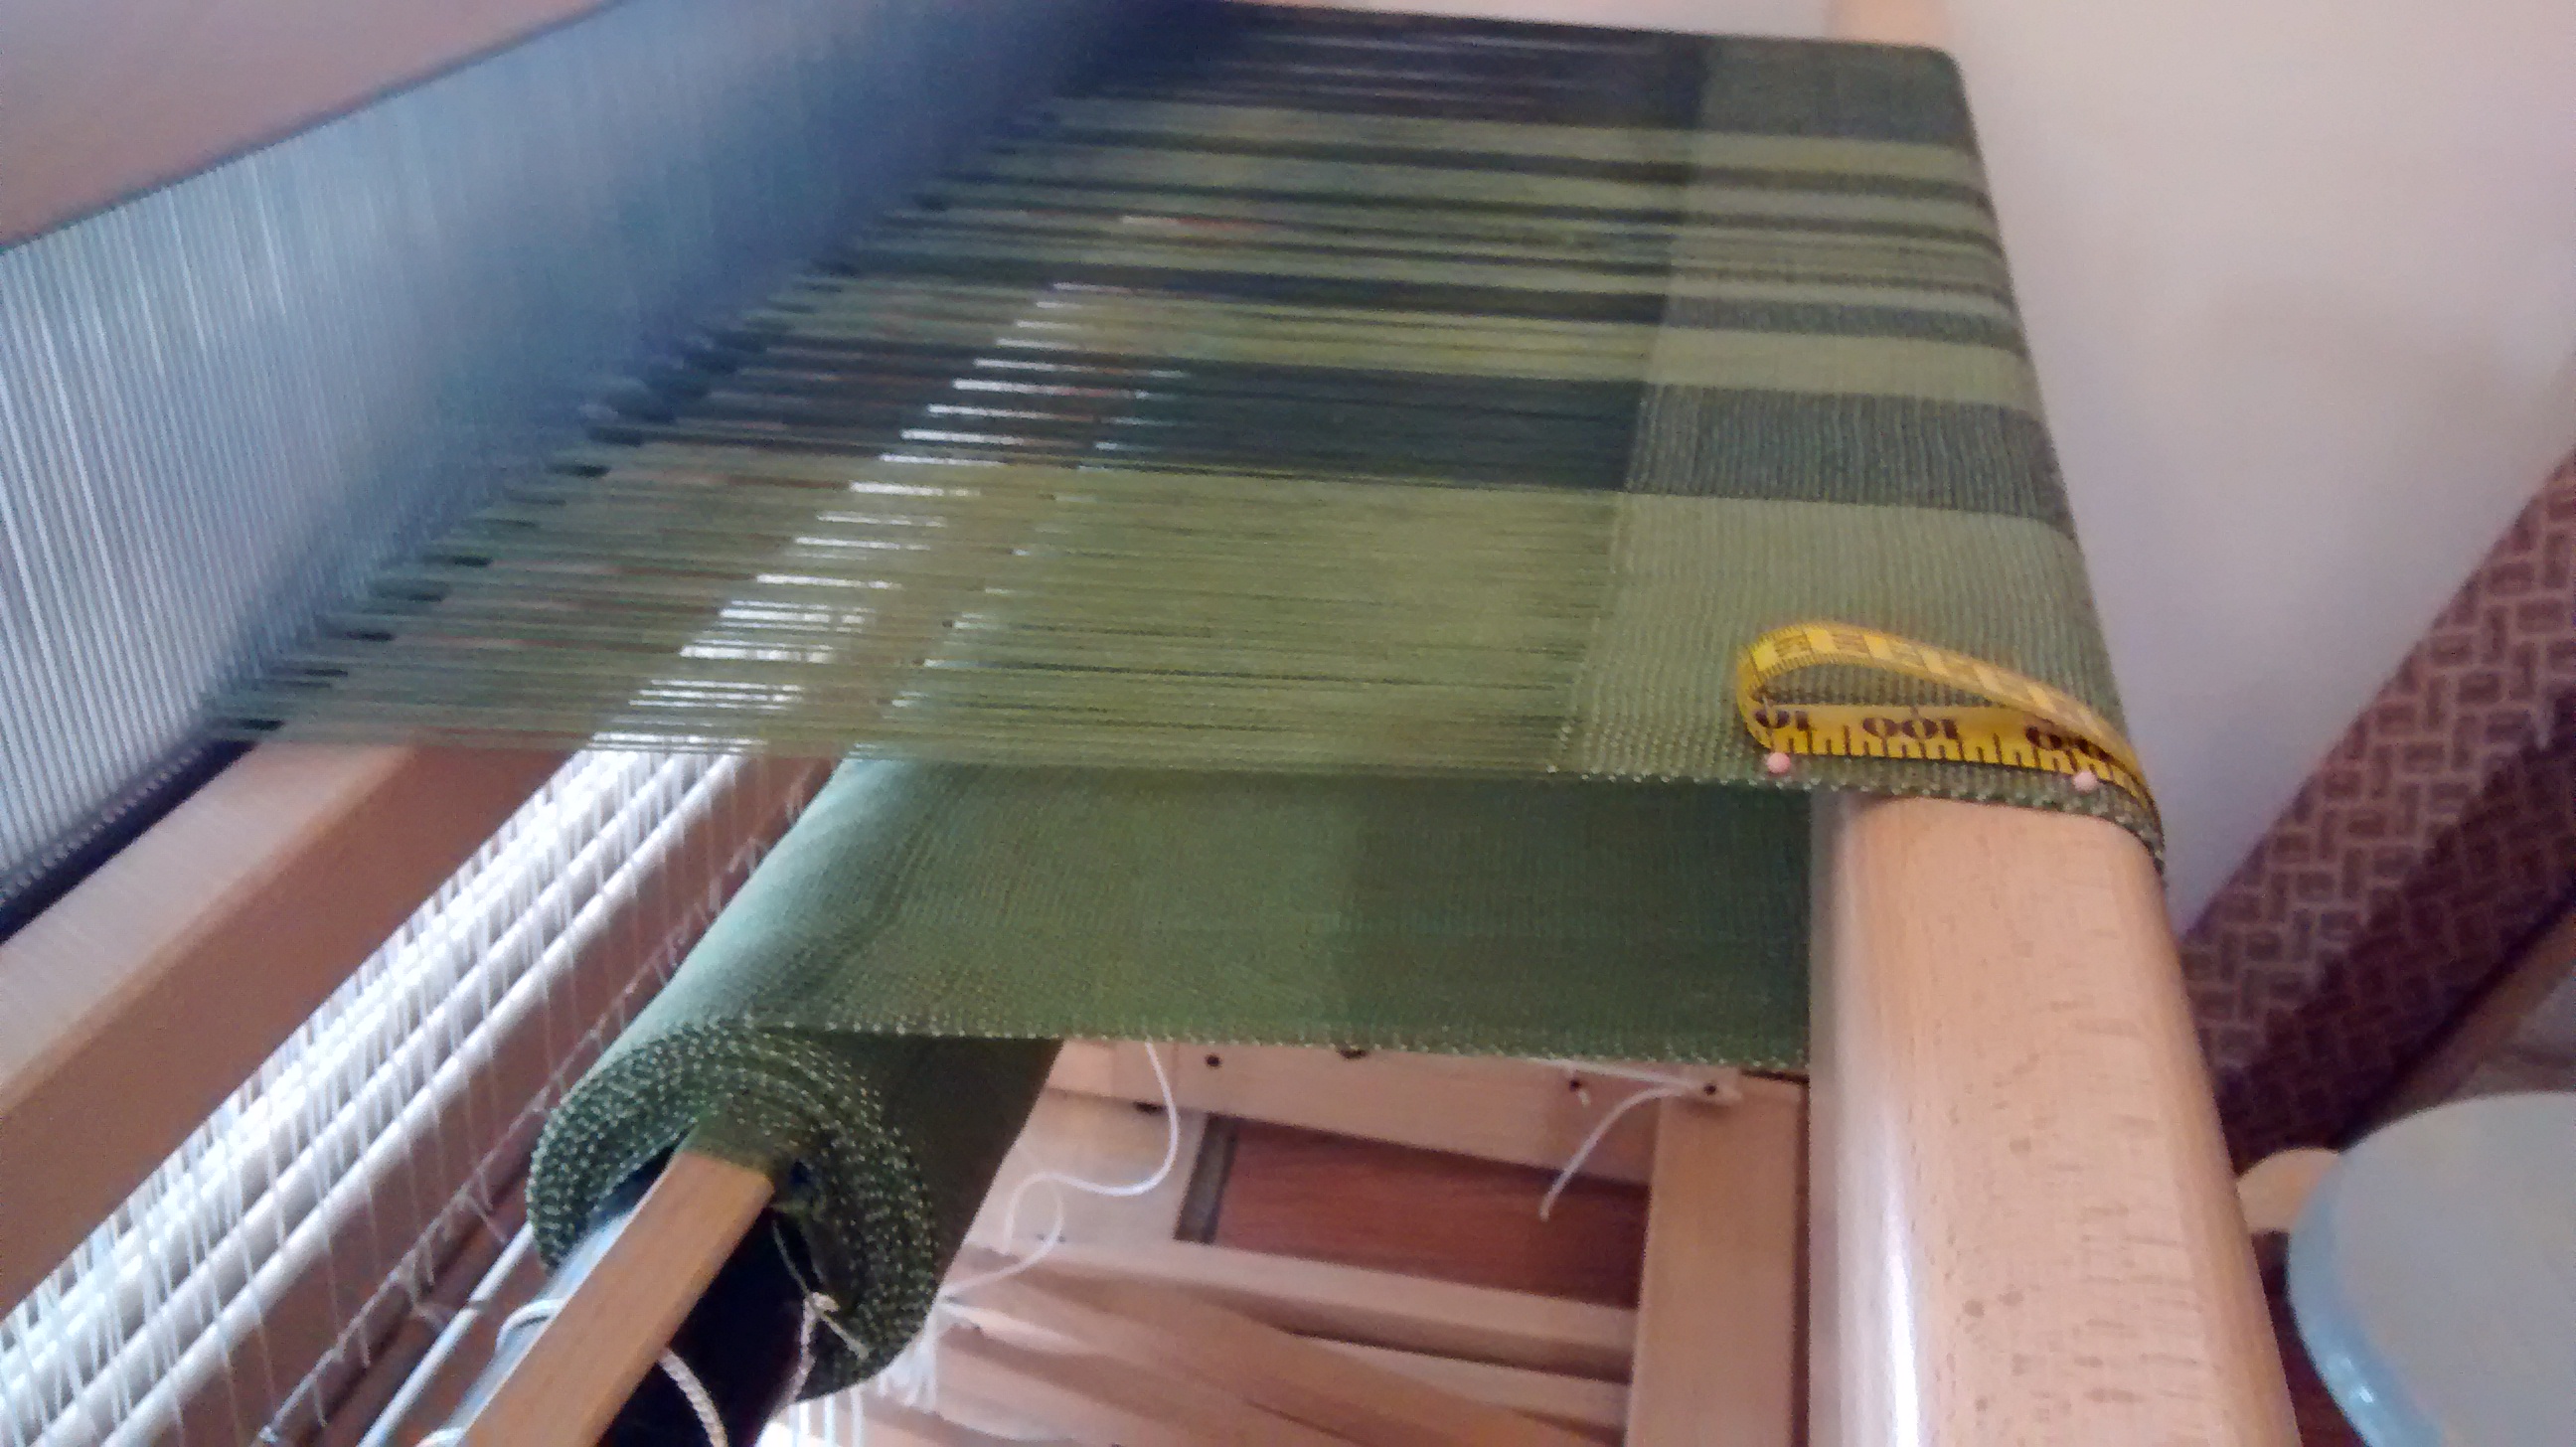
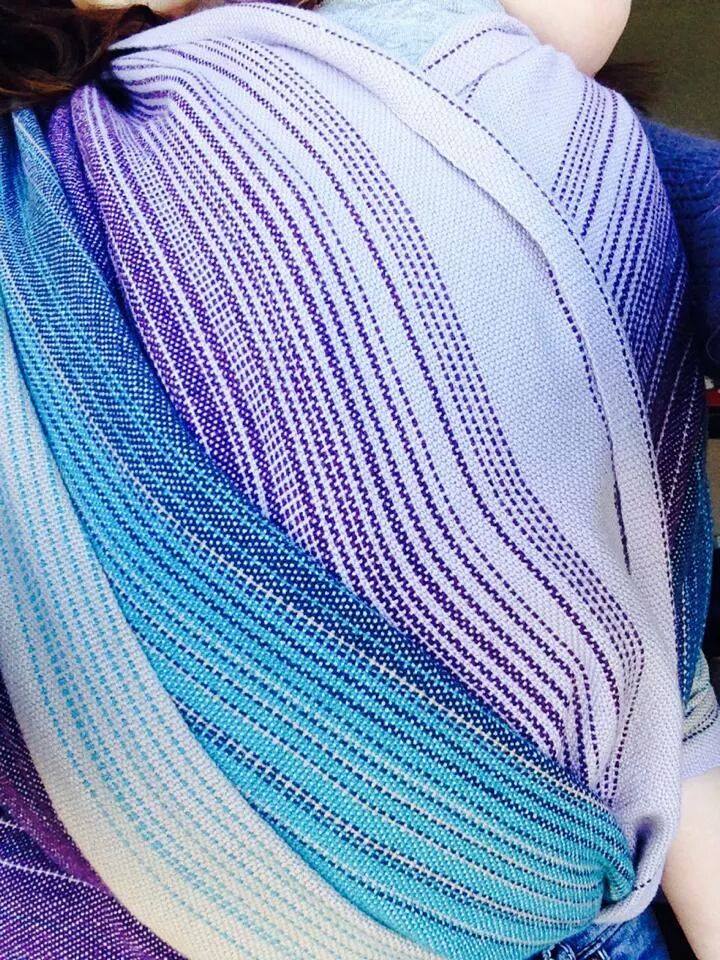
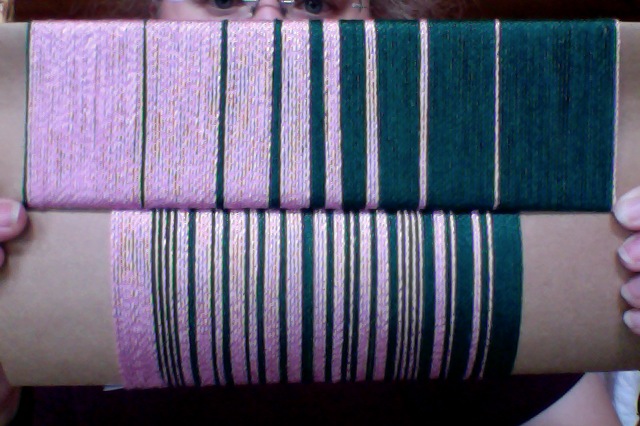
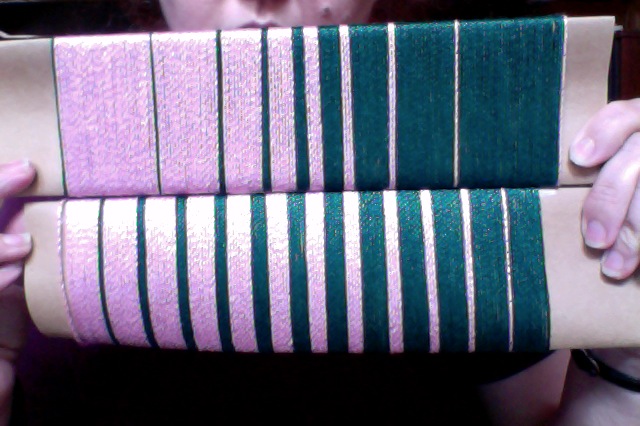
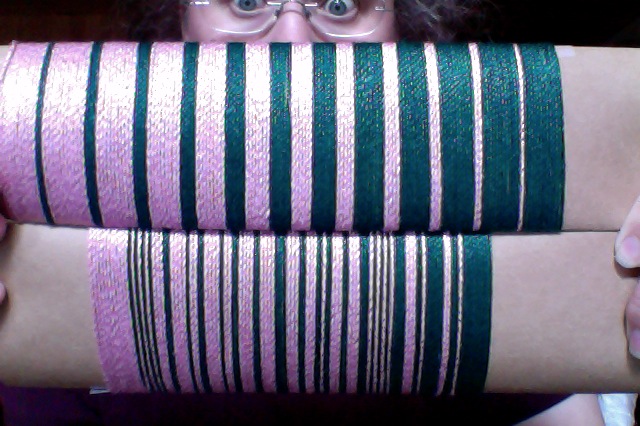
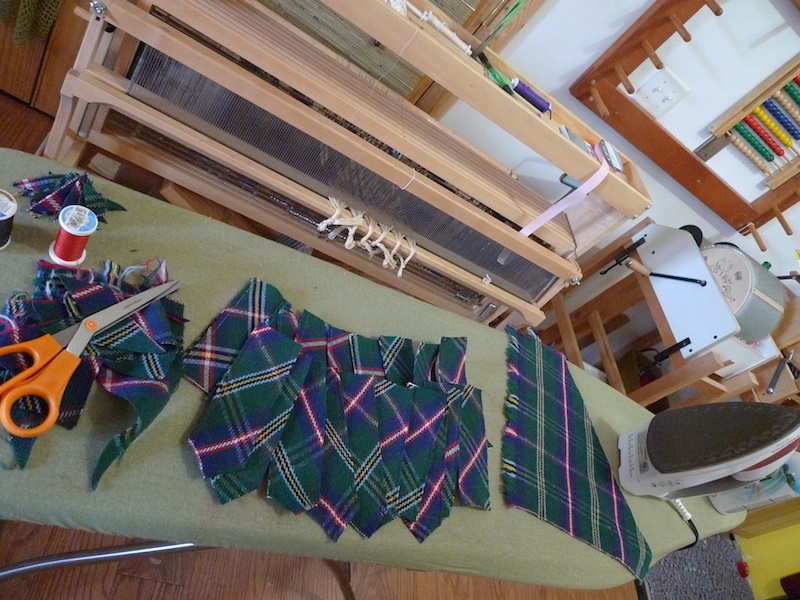
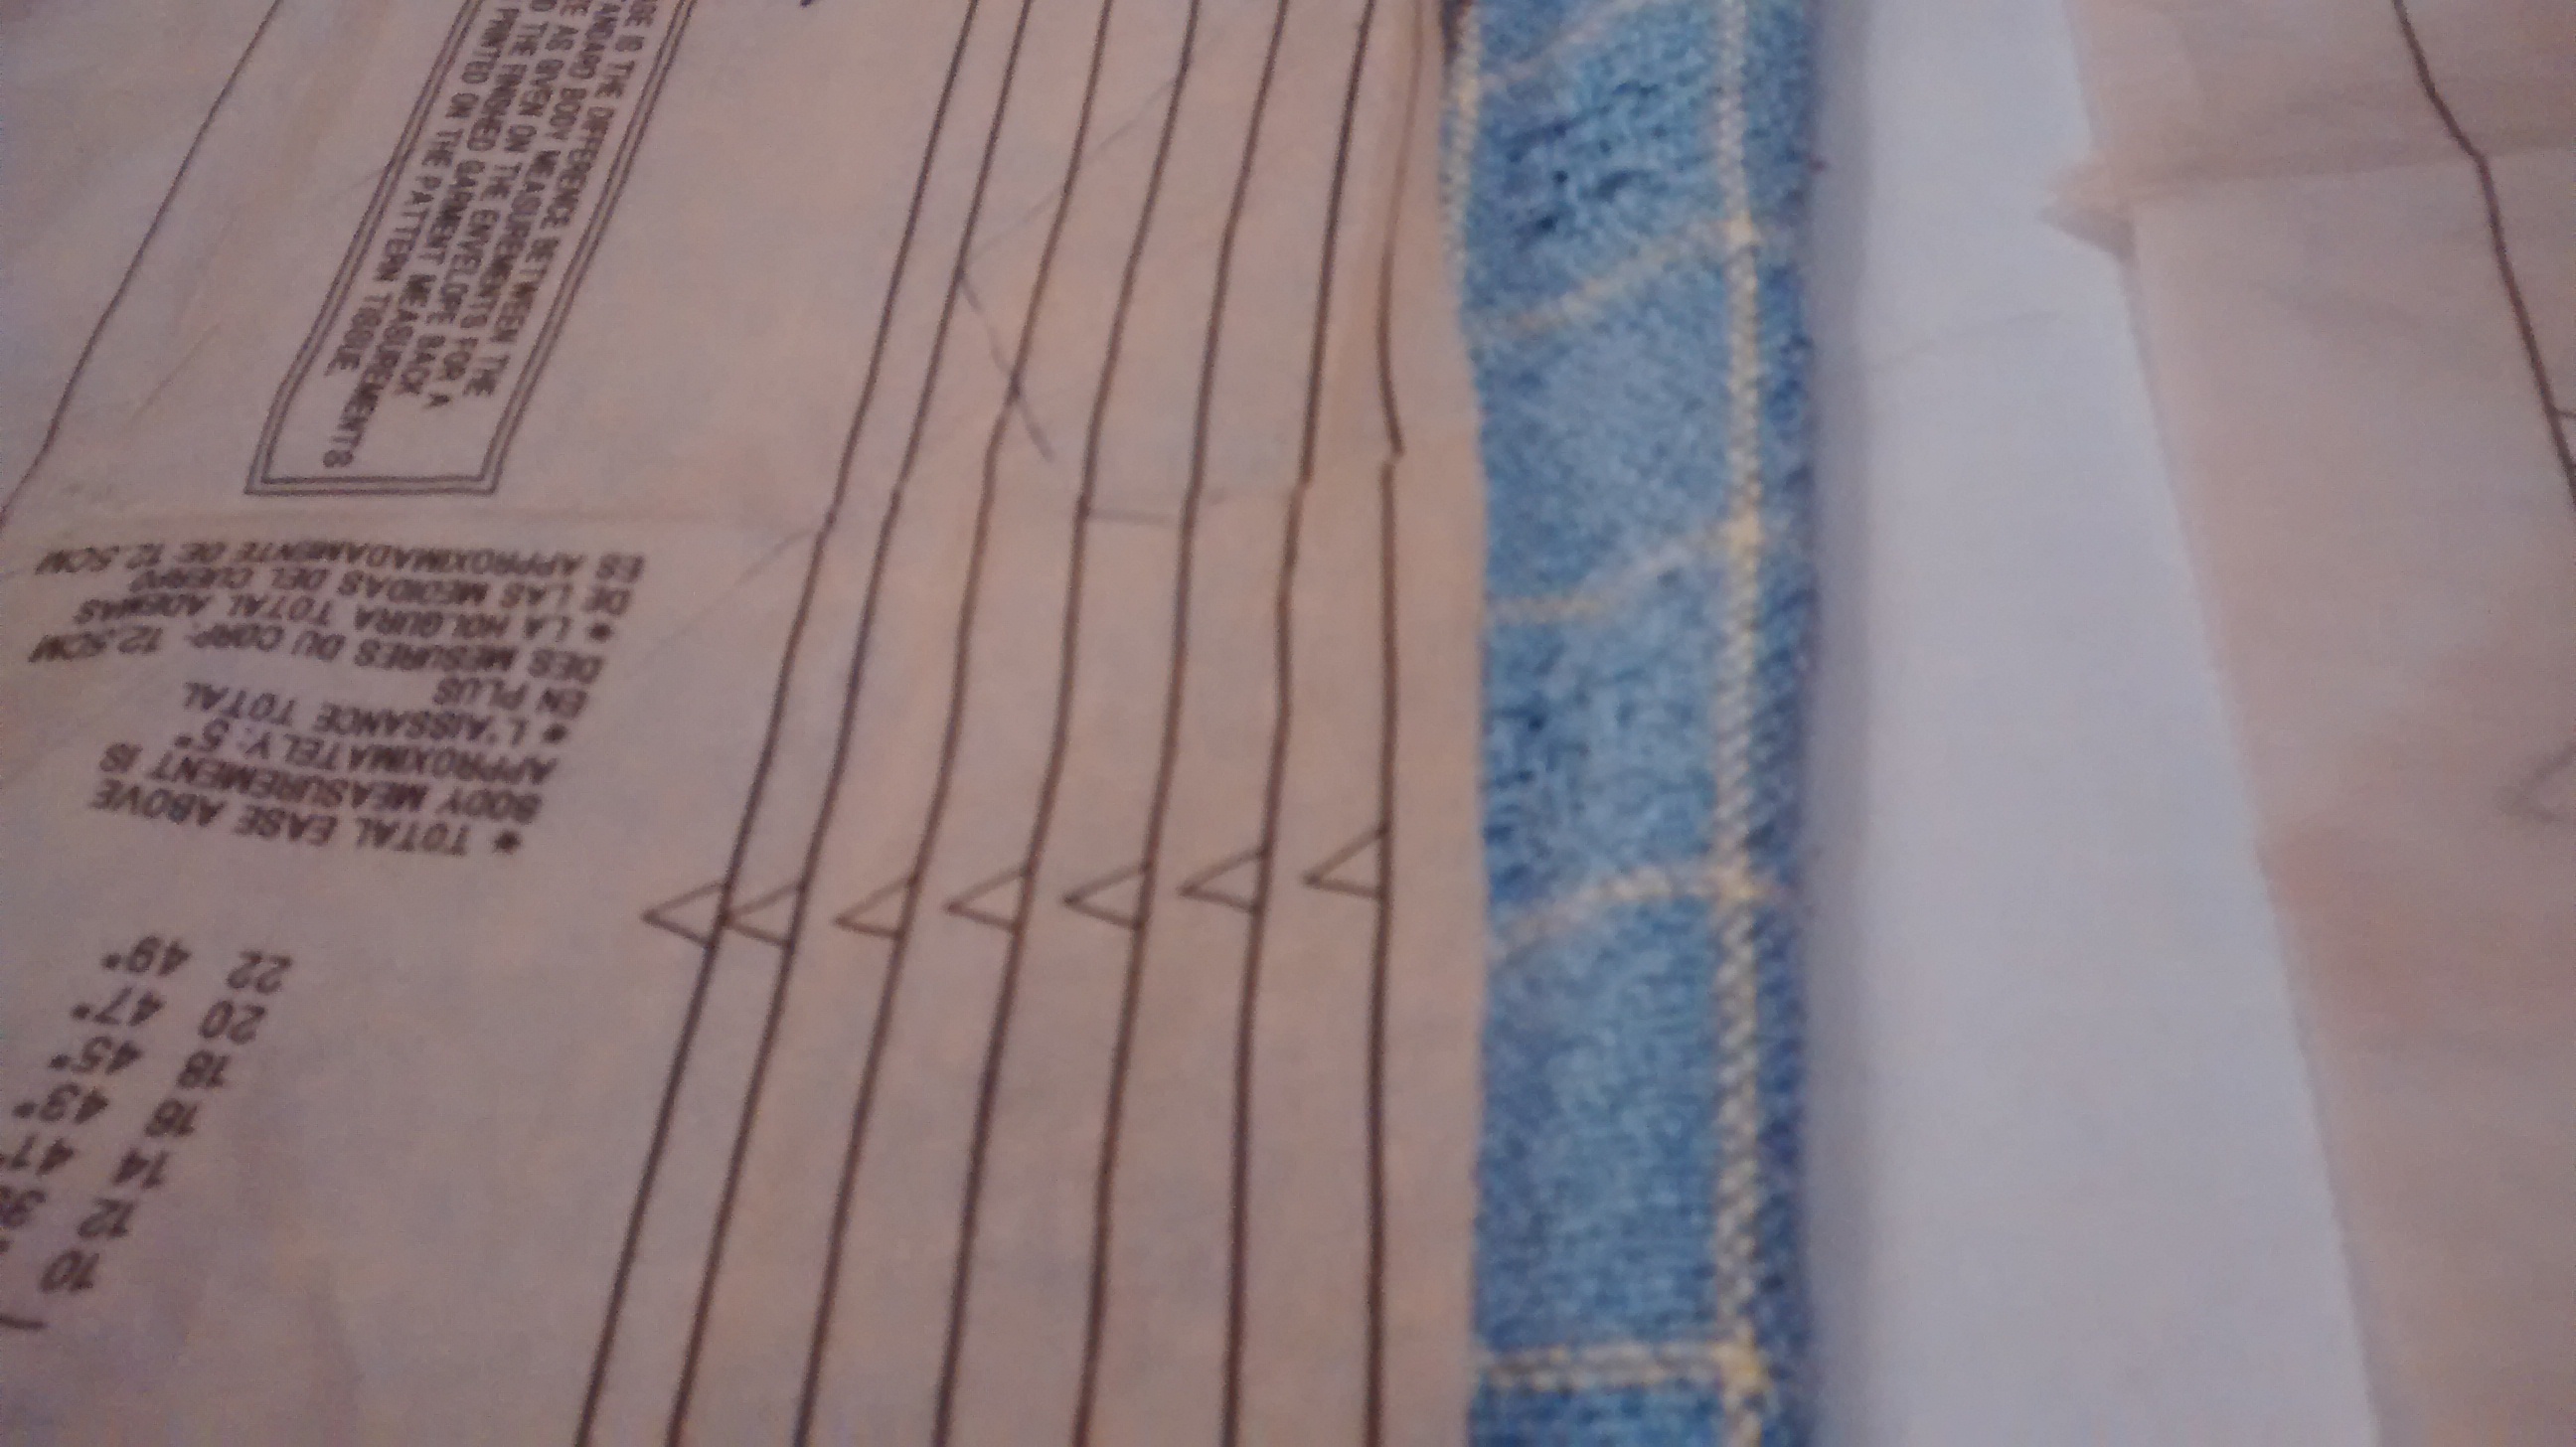
If you are using cloth with an obvious pattern/stripe/grid, you’re going to need more cloth, because you’re going to use the little dart-arrows in the pattern to line up with the lines in the cloth.  You may need substantially more cloth to do this, if you have a long repeat.

DetailofDrawingClothPatternonPattern
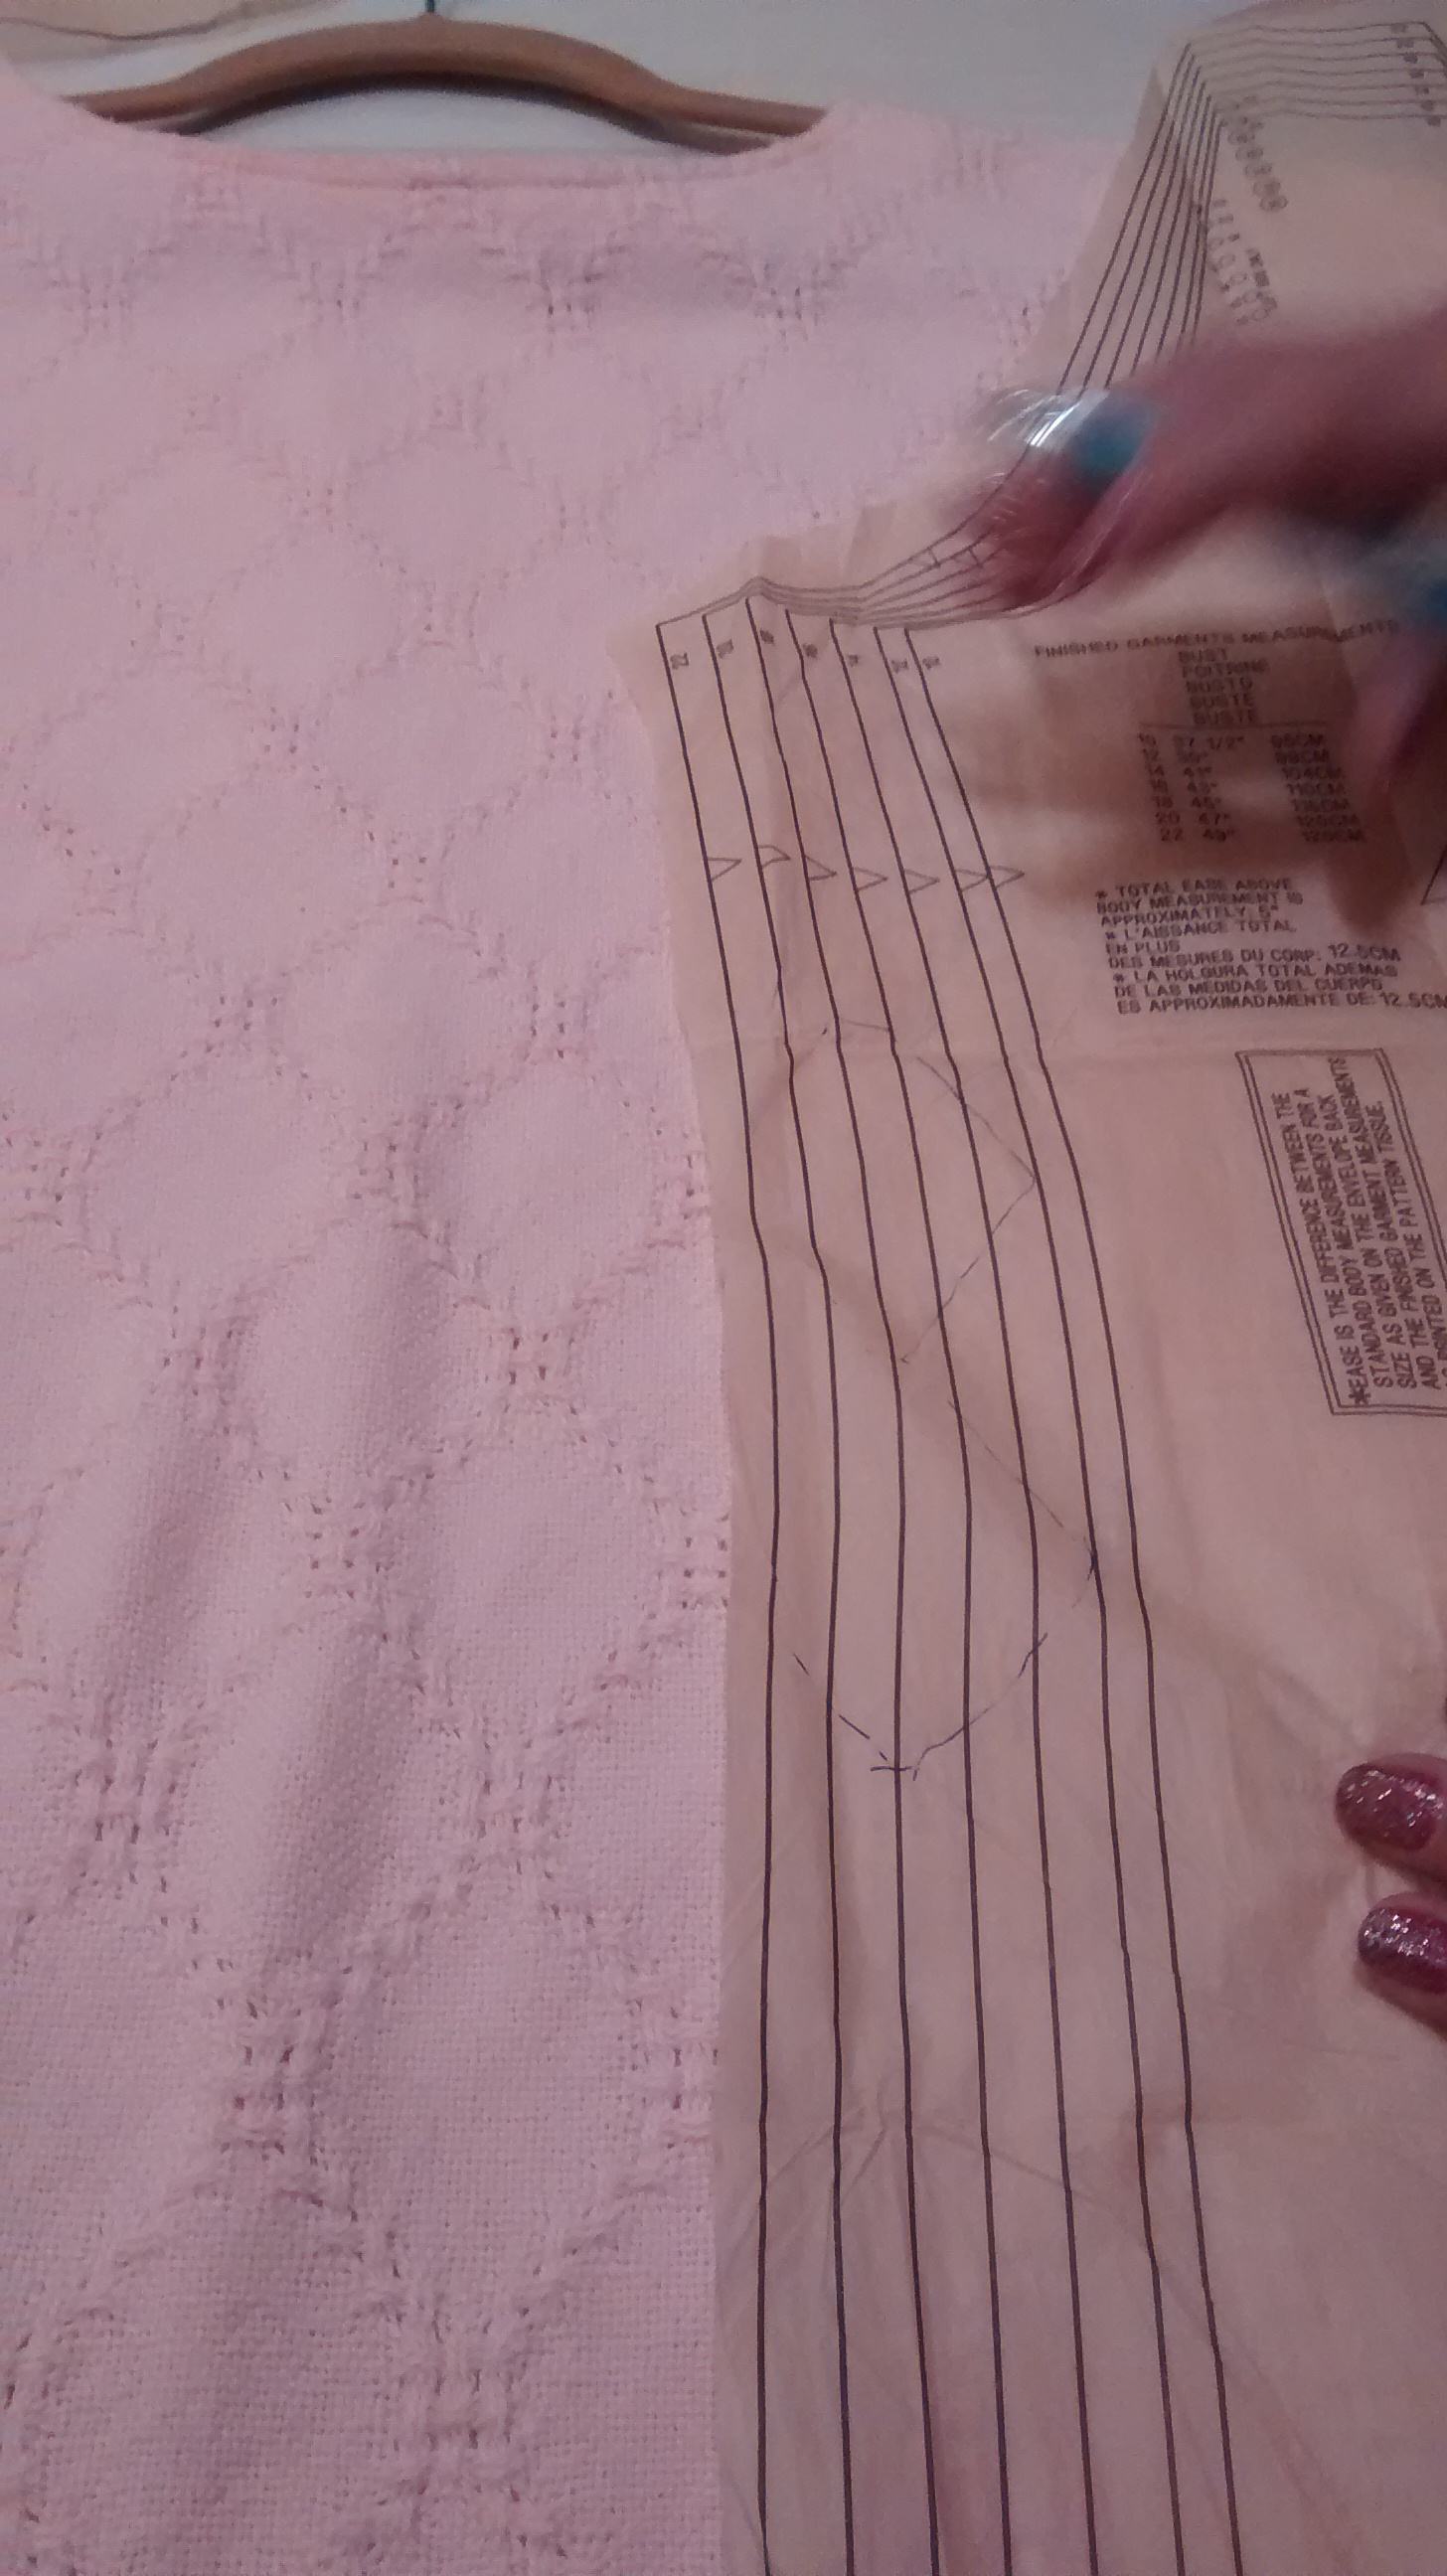
Before you cut your cloth, it’s a good idea to trace the pattern of the cloth onto your pattern piece, to make sure the cloth pattern falls in the right place.

DrawItOnCompletelySarah suggests drawing it in on the whole thing.

I don’t know about you, but I’m still not feeling super-sure about this whole thing . . . weaving yardage, no problem — cutting my cloth . . . . eek.


Aug 4 2015

Where I’ve Been Hiding

I know I haven’t been posting about what I’ve been weaving . . . I couldn’t. But I’ve been working deep in the background of this project — weaving things to help the teams make decisions on what to bring into production: Project Jacquard


Jul 30 2014

Peacock Baby Wrap Complete!

I wash, dry, and steam press my wraps before they go out. Before you send a piece of cloth this big through the washer to finish it, it’s best to baste it along the rails. I’ve determined that basting by hand with a high-contrast thread is the best way to do this:

BastedPeacock

Steam pressed, hand-hemmed, and ready to go:
PeacockPressed

On my in-house model:
WrappedAround

In the woods:
PeacockInTheWoods

In the sun:
PeacockInTheSun

The Peacock wrap meets its baby:
PeacockBabe

Mama and baby, all wrapped up and ready to go!
PeacockMamaAndBaby

I’m so glad you liked it!


Jul 29 2014

Peacock Custom Baby Wrap Threading

Finally!  All the warp threads are wound, and placed in the raddle, which allows them to be spaced  on the warp beam for back-to-front threading and sleying.  Back-to-front is really the only way to thread this particular loom, because the Louet Spring allows you to remove the beast beam *and* the beater, and to sit, nicely upright, right inside the loom for threading and sleying.  It’s rather fantastic that way.

InTheRaddle

Each thread gets its own heddle — so this means that every single thread is threaded through its very own eye.  In this case, we’re talking about 547 threads (16 threads per inch for the cloth, 24 threads per inch for the rails) and several hours of work.

ThreadedPeackockStraightOn


Threaded Peacock


Knotted in bundles on the other side to prevent ensuing tragedy like cats or dogs or small children pulling them back out of the heddles:

PeacockKnots

(I don’t have cats or dogs or small children at this point, so this must be just to prevent myself from doing something stupid).

Next up: sleying the reed!


Jul 29 2014

Colourways

Design Seeds is my new favourite place to look at colourways.

PalePinks Pale Pinks from Design Seeds

Poppies
Poppies from Design Seeds

AgedTones
Aged Tones from Design Seeds

DoorHues
Door Hues from Design Seeds

FeatheredHues
Feathered Hues from Design Seeds

DuskBloom
Dusk Bloom from Design Seeds


Jul 27 2014

Peacock Baby Wrap

To recap: my client had this inspirational photo.

PeacockInspirationPhoto

Using the Fibonacci Sequence for striping and colour changes,

FibonacciSequenceWIF

I’ve been winding the warp for the Peacock Baby Wrap:

OnTheWarpingBoard

Here’s the warping board straight on:

WarpingBoardStraightOn

To conserve space in my studio (which is also my bedroom), I installed the warping board over the light switches.  (This actually makes them easier to find in the dark).   The thing behind the warping board is a child’s counting toy from Ikea that used to belong to Farmertot.  It’s got 100 beads in sets of 10, and it perfect to help keep track of the number of threads as I’m winding.

There’s a sticky note above the warping board to the left.  Here’s a detail of it:

ColourCheckStickyNoteThis is the number of each thread of each colour (Brown, Green, Teal, Blue, Purple).

If it’s not evident on the sticky note, there is more green and blue in the sequencing, because they are two of the three colours that are striped into and back out from.  (The teal, in the middle, is brighter, and I needed to reduce the number of threads to fit the width of the cloth, so it has fewer threads, but because its value is lighter than the other colours, I think it was the perfect place for a reduction.

PeacockYarn


Jul 18 2014

Baby Wrap

FibonacciSequenceWIFI have a new client who wants a baby wrap (looks like I’d better get the one on the loom back off!) Photo on 7-14-14 at 9.42 PMThis one is two greens in the warp in a Fibonacci sequence . . . it’s for a friend who is a geeky geek. Here it is, ready to be cut off the loom (ooh! look at all that cloth!): BabyWrapCloth My new client has this inspiration photo: PeacockInspirationPhotoAnd likes this kind of colour blending: WrapColourProgression It’s going to be so pretty! Some colour progression ideas (please ignore the colours used): Photo on 7-20-14 at 10.23 AM #2A (Fibonacci Sequence) and B (Scattered Sequence) Photo on 7-20-14 at 11.30 AM #2A (Fibonacci Sequence) and C (Plus One, Minus One Sequence) Photo on 7-20-14 at 11.32 AMC (Plus One, Minus One Sequence) and B (Scattered Sequence)

FibonacciSequenceWIF

WIF of partial Fibonacci Sequence


Mar 10 2013

Bookmarks

My local weaving guild, the Spokane Handweaver’s Guild, is making bookmarks for the goodie bags for the ANWG Conference in Bellingham in June.

I got the extremely clever idea of taking the cloth I’m currently working on (WA State Tartan in a lovely, thin wool) and using it for the bookmarks. Next, I thought I’d b clever by sewing on pre-sized, pre-cut bookmarks, and decided I could line them up and THEN cut them, saving fraying, and, in theory, keeping everything straight.

TartanSewing

It was an awesome idea . . . but I’m still a terrible seamstress.

The detritus of the project:
TartanProject

And the bookmarks, safely tucked into plastic sleeves that are manufactured and sold as “pretzel bags” for people who dip pretzel logs in candy coating and then roll them about in sprinkles:

Photo on 3-10-13 at 7.32 PM


Dec 20 2011

Double Weave: Part Two — What the warp is doing

For the purposes of this explanation, let’s assume you are weaving some probably pretty-ugly cloth. The upper layer of your cloth is alternating orange and green yarn, and the lower layer is alternating blue and pink yarn. To make matters worse, you have loaded your shuttle with a thick, black yarn.  I am sorry to say that you have done this. I hope you will be more careful with your colour choices in the future, so you don’t end up with such ugly cloth.

Here are the ends of your warped threads:
For ease of conversation, let us assume that you have threaded the loom like this:

Orange threads in Harness 1

Blue threads in Harness 2

Green threads in Harness 3

Pink threads in Harness 4

You know that the 1-3 combination will give you plain weave for the top layer, and that 2-4 will give you plain weave for the lower layer.  To begin weaving the lower layer, you’ll need to raise Harnesses 1-3-4, leaving Harness 2, with the blue threads, down:

Then you will throw your first shot, or pick, left to right, from the center of your fabric to the selvedge, with that thick black yarn (oh, why, oh, why did you choose this colour combination?).

Your cloth now looks like this:  you have one strand of warp that is lying between the threads on Harnesses 2 & 4:

But in order to have cloth stay together, you’ll need to wrap the weft back around the other way — under the blues, and over the pinks.  So your next order of business is to raise Harnesses 1-2-3:This gets the top layer of fabric (orange and green) out of the way of the lower layer that you’re working on.  Throw your second shot, right to left this time, from the selvedge to the fold.

Your cloth now looks like this (though I see that you’re in a rush to start work on the upper layer of cloth).

Your next treadling combination will raise only Harness 3, the green threads.  You want to leave the lower layer of cloth down and out of the way of your weaving, and you want to place the yarn over the oranges threads and below the green ones.

At this point, you’ve thrown 3 of the 4 combinations needed to make this double-layered, plain-weave cloth:

The last pick, or shot, takes us under the Orange thread, and is done with just Harness 1 raised.  You’re still working above the lower layer of cloth (Harnesses 2 and 4), so you leave them lie.

Here’s the entire sequence, starting in the lower left corner, and ending in the upper left, after crossing the page, er, cloth, four times with that black weft thread.

The 70s called– they want their weaving back.


Dec 20 2011

Double Weave Part I: What the shuttle is doing

Though the magic of stop-action photography, here is an explanation of how double-weave works to create a folded piece of double wide, plain weave fabric.

Imagine, if you will, a cross-section of your warp. Here are 10 threads for shafts 1 and 2:

And a second set of threads, again 10, for shafts 3 and 4:

For the sake of clarity, we will make our left the “Fold-side,” and our right the “Selvedge-side”:

In order to weave the cloth, we will travel from the middle of the cloth, and work in tabby from the fold side to the selvedge side.

Because we don’t want to weave a tube, we need to follow our cloth on this layer, back to the middle (fold side) of the cloth:

Then we weave the other layer from the fold to the selvedge:

And back (selvedge to fold):

That is what the shuttle is doing: weaving two picks of each layer, from the fold, to the selvedge, and back. You can, of course, start from the selvedge end, and work toward the middle. Throw one shot of the lower layer:

Then one shot of the upper layer:

The return shot of the upper layer (so as to avoid making a tube!):

And the return shot of the lower layer: